
Castlevania: Belmont's Curse Joan Fight: Boss Guide
Win the Castlevania: Belmont's Curse Joan fight with sword counters, fire-rain dodges, and whip-anchor timing. Learn both phases and every boss reward.
Jump to
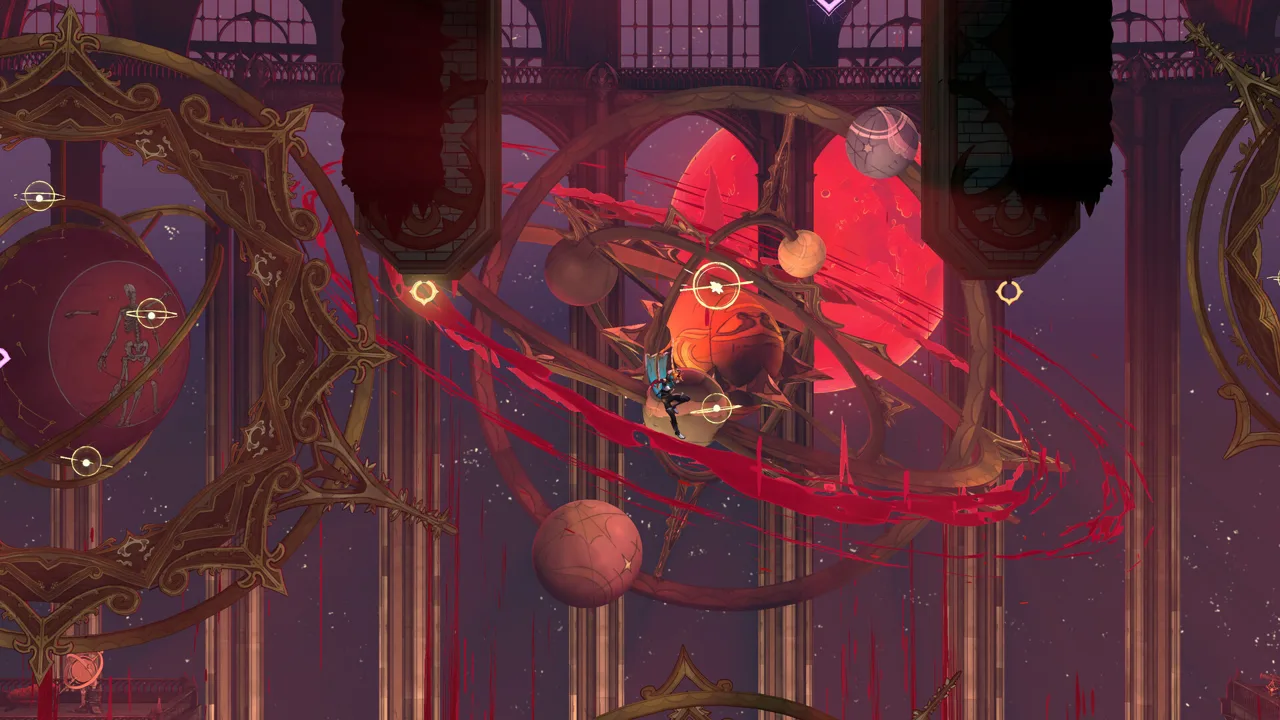
How to Beat Joan in Castlevania: Belmont's Curse
In the Castlevania: Belmont's Curse Joan fight, wait for her sword combos to miss before counterattacking. Beat her on the Tower Rooftop by slipping past regular swings, jumping over her low slash, and using the overhead whip anchors when flames sweep the arena. Winning the Castlevania: Belmont's Curse Joan fight earns you The Warrior Arcana, new abilities, and a key needed to reach the Catacombs.
Joan has two phases, with the second beginning at 50% health. Her opening phase teaches you to recognize sword attacks and falling fire; the second adds a burning transformation and a major attack that makes the arena’s overhead anchors essential.
Start aggressively during her brief opening pause, then settle into a patient rhythm. Bait an attack, evade the full sequence, deliver a short counterattack, and create space again.
Prepare Your Equipment and Retry Settings
Bring a weapon you can use comfortably during short openings. The Cestus supports quick bursts of damage when Joan has her back to you. Keep your attention on her sword even after getting behind her, since she can thrust backward.
| Preparation | How it helps against Joan |
|---|---|
| Equip the Cestus for quick attacks | Deliver a fast series of blows during openings behind her |
| Keep the Holy Cross available | Throw it toward Joan during a safe gap in her fire attack |
| Locate both overhead anchors | Prepare to swing away from the large flame attack |
| Review the Gameplay settings | Adjust damage sliders or enable respawning in front of boss doors |
If repeated runbacks are interrupting practice, enable “Allow respawn in front of boss doors.” You can also adjust the damage sliders through the Gameplay tab.
For the Castlevania: Belmont's Curse Joan fight, prioritize recognizing her tells over extending every attack string. Taking one safe opening and backing away gives you another chance to read her next move.
Official page: Castlevania: Belmont's Curse (konami.com)
Phase One: Read the Sword and Punish the Recovery
Joan briefly leaves herself open when combat begins. Move in and land several strikes, then back away as soon as she starts winding up. Treat that opening as a head start, not an invitation to keep attacking through her response.
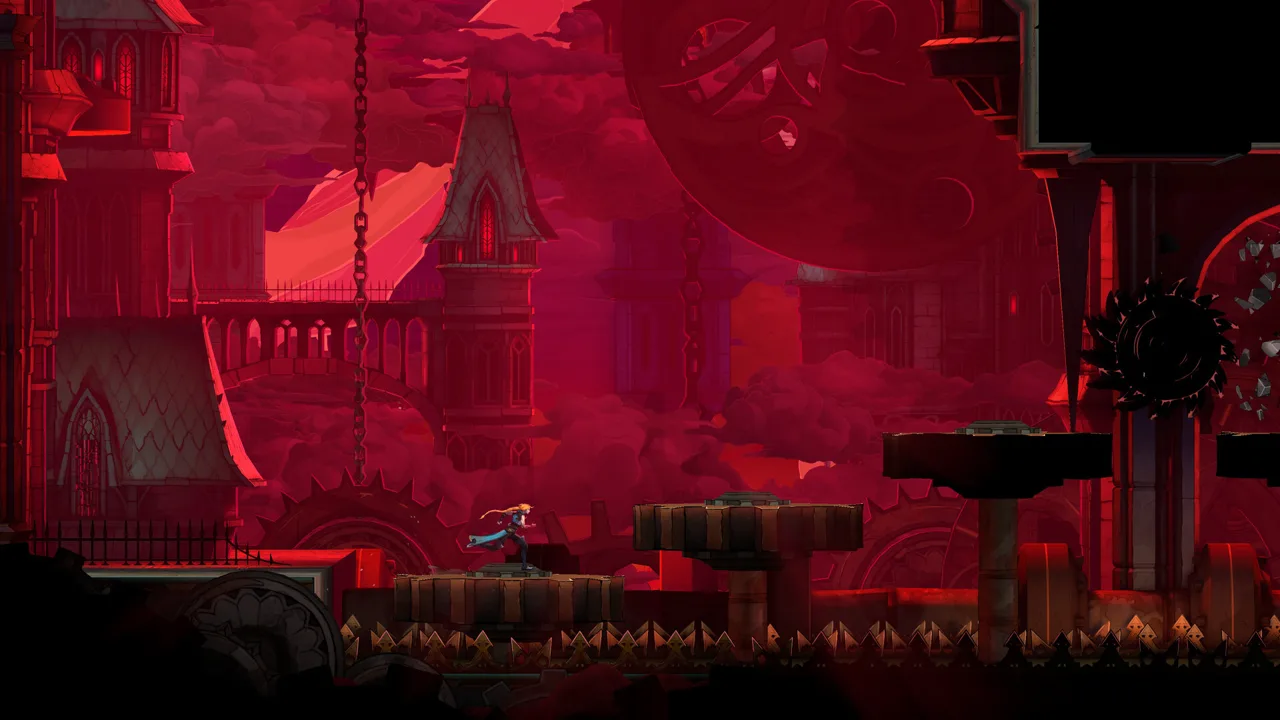 Image: Steam / KONAMI
Her sword sequence begins with a forward lunge followed by three additional sword attacks. Jump over the opening lunge or slide beneath its blade, then continue watching the remaining swings. Counterattack once the sequence has missed.
Separate Regular Swings From the Low Slash
The critical distinction is whether Joan holds her blade up for a regular strike or drags it along the ground. Sliding does not avoid the ground-dragging low slash. Jump or retreat when you see that tell.
| Attack | Tell to watch | Response |
|---|---|---|
| Opening lunge | Joan winds up before moving forward | Jump over her or slide beneath the blade |
| Follow-up sword swings | She continues attacking after the lunge | Slide beneath regular strikes and wait for the sequence to finish |
| Low slash | Her sword drags along the ground | Jump or retreat |
| Backward sword thrust | Joan attacks behind herself | Watch her blade instead of assuming her back is safe |
Avoid turning the slide into an automatic response to every movement. It works against her regular sword attacks, but the low slash specifically catches that habit.
Keep enough distance to see the windup clearly. Once she commits, move past the attack and look for your counter. If you finish behind her, use a brief Cestus burst, then prepare to evade again.
Do Not Confuse Position With an Opening
Getting behind Joan helps you attack, but it does not end her turn. Her backward thrust means you still need to watch what she is doing.
Keep your attacks short until you can recognize the complete sword sequence. If she is still swinging, continue evading. When the swings miss and the sequence ends, step in.
The Castlevania: Belmont's Curse Joan fight becomes easier to manage when you separate those decisions: first avoid the attack, then decide whether there is room to retaliate. Trying to do both at once encourages attacks during unfinished combos.
On a failed attempt, identify the move that caught you. If it was the low slash, focus on the dragging blade during the next attempt. If it was a follow-up swing, wait longer before counterattacking.
Rain of Fire: Find a Gap and Time Your Jump
Joan’s fire attack shifts your attention from her sword to the space above the rooftop. Fiery projectiles form overhead, and she raises an arm before sending them down.
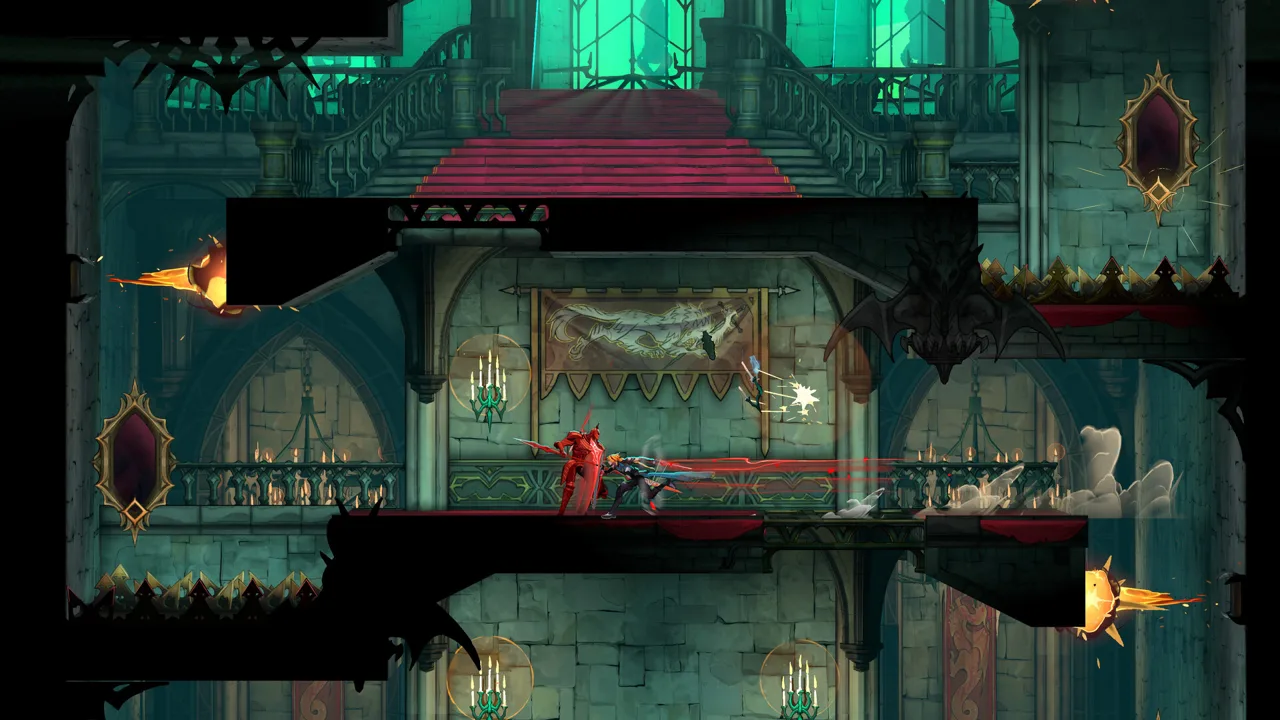 Image: Steam / KONAMI
Her shouted flame warning gives you another cue to stop chasing damage and check your position. Move between the falling projectiles, then jump straight up just before they explode.
The sequence asks for positioning followed by timing. Find the gap first; use the jump to avoid the detonation.
| Moment | What to do |
|---|---|
| Fireballs appear overhead | Check where they are positioned |
| Joan raises her arm and calls out | Move into a gap between the projectiles |
| The projectiles descend | Hold your position between their impact points |
| The explosions are about to begin | Jump vertically |
| You have room to act safely | Heal or throw a Holy Cross toward Joan |
Stop Chasing Joan During the Warning
Running across the rooftop while fire is descending makes it harder to track the impact points. Pick your gap deliberately and keep watching the projectiles.
If you need healing, use the space between the falling fireballs, but keep the explosion timing in mind. If you are ready to attack, a Holy Cross throw lets you send damage toward Joan while maintaining that position.
Do not force either action if you are still struggling with the jump. Spend an attack cycle learning where to stand and when to leave the ground.
For the Castlevania: Belmont's Curse Joan fight, treat the fire warning as a change in priorities. Stop looking for a sword counter, locate the gap, and return to attacking once you have handled the fire.
Phase Two: Use the Whip Anchors Above the Flames
At half health, Joan engulfs herself in flames. Keep applying the sword lessons from the opening phase: evade regular swings, jump or retreat from the low slash, and punish missed attacks.
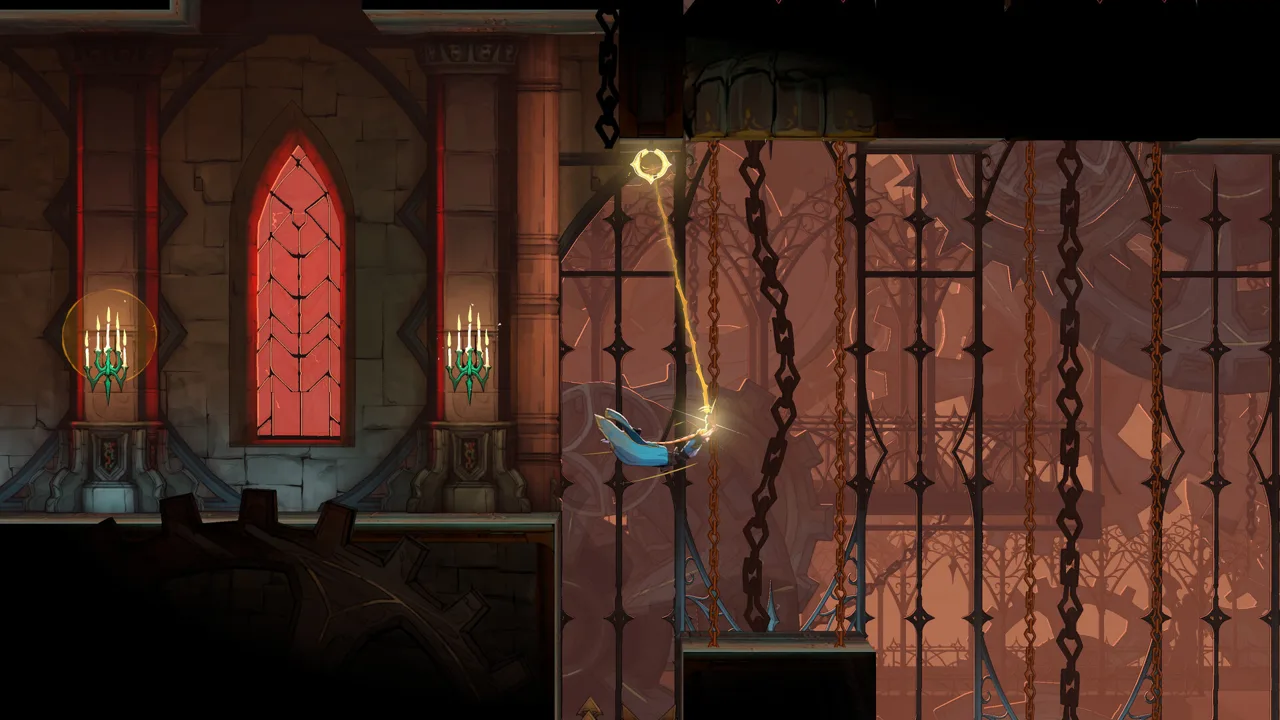 Image: Steam / KONAMI
Her burning appearance is your reminder to watch for the larger aerial attack. Joan jumps up with her sword held in both hands, then lands with a strike that sends huge waves of fire up the left and right sides of the arena.
Use Rose’s whip to catch an overhead anchor and swing toward the center. This is the movement response to practice for that attack.
Move Into the Air When Joan Commits
Follow the attack’s sequence:
- Watch for Joan to rise with her sword in both hands.
- Locate one of the two suspended anchors.
- Catch it with Rose’s whip.
- Swing toward the center as the side flames erupt.
- Stay clear of the flames until the attack ends.
The anchors become temporarily disabled by black flames after you latch onto them. Watch their state before planning another grab; a used anchor is not immediately available again.
Look upward as soon as Joan begins the aerial windup. Delaying that check leaves less time to choose an anchor and move away from the sides.
Keep Your Counterattacks Disciplined
The second phase still offers sword-counter opportunities. Continue using them instead of trying to finish the remaining health in one extended assault.
After avoiding an attack, check whether Joan has finished moving before approaching. When she returns to sword combat, return to the same spacing and short punishments that worked earlier.
The Castlevania: Belmont's Curse Joan fight tests several distinct responses: slide beneath regular sword swings, jump or retreat from the low slash, position between falling fireballs, and swing above the large flame attack. Practice matching the response to the tell.
If the aerial attack keeps ending your attempts, make reaching the anchor your immediate objective whenever Joan jumps with her sword raised. Resume damage afterward.
Joan’s Rewards and What to Do Next
Defeating Joan gives Rose combat tools and an exploration ability, alongside an item needed for the Catacombs gate.
The Warrior Arcana brings Joan’s powers into Rose’s arsenal. Infernal Pyre produces flames around Rose that ignite enemies and launch them upward, while Holy Light disperses the Chaos Shards blocking certain paths.
| Reward | What it provides |
|---|---|
| The Warrior Arcana | Access to Joan’s powers |
| Infernal Pyre | Flames around Rose that ignite enemies and launch them into the air |
| Holy Light | An ability used to disperse Chaos Shards by holding its corresponding button |
| Burnt Sword of Fierbois | A new weapon |
| The Warrior’s Key | One of the three keys required to open the sealed Catacombs gate |
Revisit Paths Blocked by Chaos Shards
After the Castlevania: Belmont's Curse Joan fight, check previously explored areas for Chaos Shards. Hold the button assigned to Holy Light to disperse them and open those routes.
Try Infernal Pyre when enemies crowd around Rose. Its surrounding flames and launching effect give you a way to create room during encounters with multiple enemies.
Keep the new weapon in mind when reviewing your equipment, too. The Burnt Sword of Fierbois joins your options after the victory.
Follow the Catacombs Key Objective
The Warrior’s Key is part of a three-key requirement for the sealed Catacombs gate. Joan’s defeat advances that objective.
Her post-fight dialogue also points toward the cemetery and its undercroft when Rose asks about the last key. Follow that lead as you continue searching.
Joan’s story changes after the battle. Freed from the dark voice controlling her, she recognizes that she has killed the people she believed she was protecting. She explains that a malevolent presence offered to save her from the pyre in exchange for her service.
That conversation explains her hostility toward Rose: Joan believed she was defending France from an enemy. Defeating her breaks that control and gives Rose another lead into the conspiracy beneath Paris.
FAQ
Where is the Castlevania: Belmont's Curse Joan fight?
Joan waits on the Tower Rooftop in the Streets of Paris. She fights with sword combinations, falling fire, and a large flame attack that requires the overhead whip anchors.
How do you avoid Joan’s low sword attack?
Watch for her blade dragging along the ground. Jump or retreat when that happens. Sliding beneath this attack still leaves Rose vulnerable, even though sliding works against Joan’s regular sword swings.
What should you do when Joan fills the arena with flames?
When Joan rises with her sword in both hands, whip onto an overhead anchor and swing toward the center to avoid the flames erupting along the sides. Watch for the black flames that temporarily disable anchors after use.
What do you unlock after beating Joan?
You receive The Warrior Arcana, Infernal Pyre, Holy Light, the Burnt Sword of Fierbois, and The Warrior’s Key. Use Holy Light on Chaos Shards, and continue collecting the three keys needed for the Catacombs gate.
Continue with
 Castlevania: Belmont's Curse Medusa Boss Fight GuideBeat the Castlevania: Belmont's Curse Medusa fight with the fountain route, gaze counters, rock cover strategy, and tips for claiming the Prophetess' Key.
More in Bosses
See all BossesPopular pages
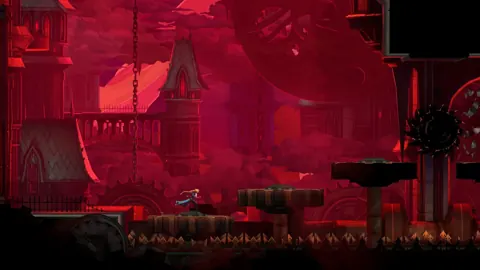
Castlevania: Belmont's Curse Release Date & Prices
Castlevania: Belmont's Curse release date is October 15, 2026. Compare editions, US prices, platforms, and PC requirements before buying Rose's adventure.
Castlevania: Belmont's Curse Achievements: Full Guide
Track Castlevania: Belmont's Curse achievements with the full trophy list, collectible goals, ending requirements, and a clear route to 100% completion.
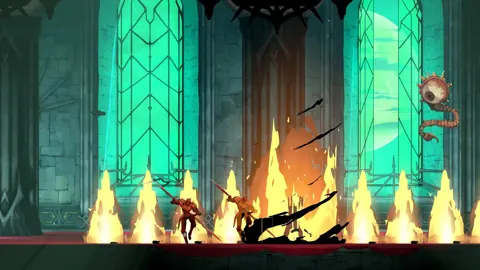
Castlevania: Belmont's Curse Collector's Edition Guide
Shopping for a Castlevania: Belmont's Curse collector's edition? Compare Midnight and Night One extras, U.S. prices, and physical bonuses before you buy.
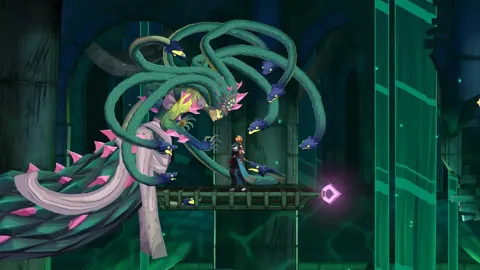
Castlevania: Belmont's Curse PS5: Price & Demo Guide
Castlevania: Belmont's Curse PS5 is out now. Compare editions, check the $29.99 price, explore combat features, and try the free demo before buying a copy.
Join the community
Official channels for news, updates and player help: