
Castlevania: Belmont's Curse Bosses: Combat Strategies
Master Castlevania: Belmont's Curse bosses with attack counters, Arcana tips, and strategies for The Fallen, Joan, Medusa, Isaac, Carmilla, and Death.
Jump to
Prepare Your Equipment and Learn the Counters
Castlevania: Belmont's Curse bosses punish careless attacks, but several dangerous moves have counters that can change the fight. Learning those counters helps you preserve potions, survive phase changes, and earn Arcana that expand Rose’s abilities. This guide to Castlevania: Belmont's Curse bosses covers The Fallen, Joan, Medusa, Isaac, Carmilla, and the early encounter with Death.
Boss spoilers follow, including attack patterns, rewards, and an encounter you’re expected to lose.
Before entering an arena, visit a saving mirror. These restore your health and replenish your potion supply, giving you a fresh attempt without carrying damage from exploration into the fight.
Rose can use weapons across seven categories, alongside Relics with offensive and defensive effects. Adjust your equipment around the opening you need to exploit: quick strikes behind Joan, ranged Arcana against Medusa, or carefully timed counters against Isaac.
Keep these preparations in mind:
- Refill before committing. Use a mirror to recover health and potions.
- Practice short attack sequences. Leave enough time to respond when the boss starts another move.
- Check your Arcana. An attack’s reach and placement matter as much as its damage.
- Adjust the Gameplay settings if needed. Damage sliders let you change the challenge, while “Allow respawn in front of boss doors” reduces repeat travel.
For Castlevania: Belmont's Curse bosses, equipment supports your execution, but recognizing attacks remains essential. Start each unfamiliar fight by watching the wind-up, then identify where Rose can stand safely afterward.
Official page: Castlevania: Belmont's Curse (konami.com)
The Fallen: Break the Cross and Respect the Whip
The Fallen is Rose’s first major boss challenge, encountered in the sewers. Its size makes close combat intimidating, but the opening lesson is straightforward: you can destroy its thrown cross with a weapon strike.
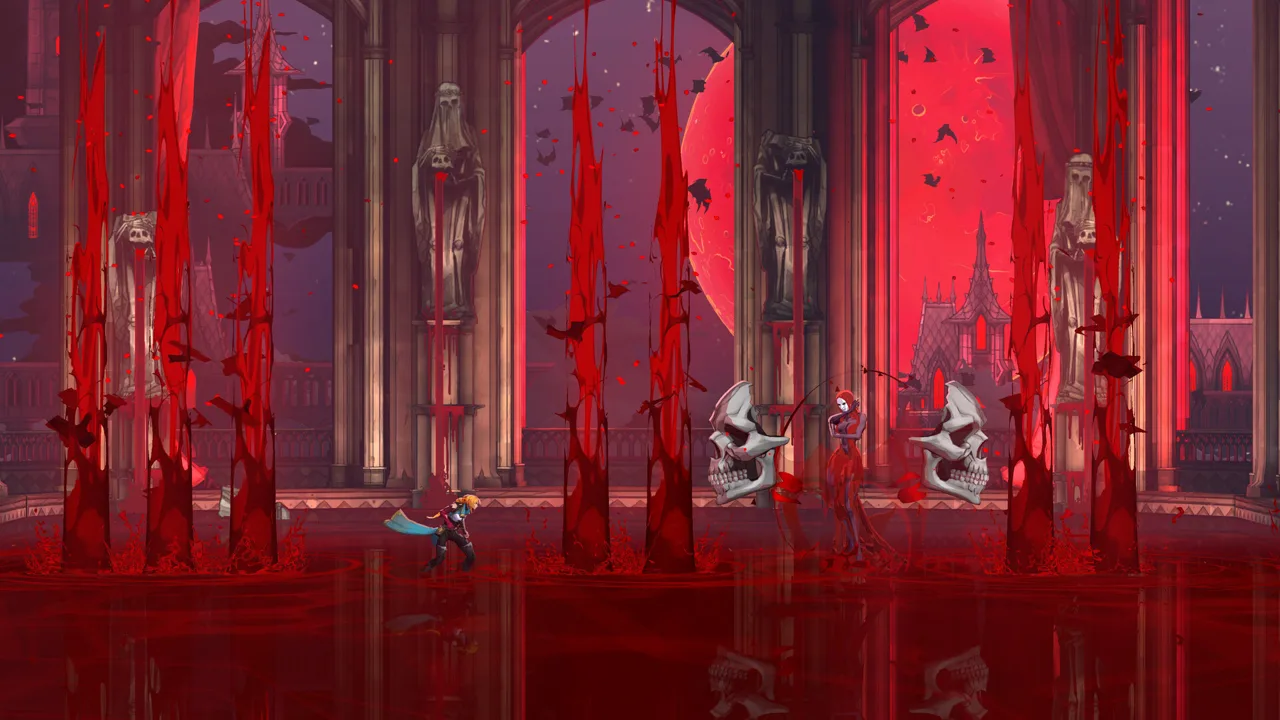 Image: Steam / KONAMI
Wait for the projectile to enter your weapon’s reach before swinging. Attacking too early can leave Rose committed to an animation while the cross continues toward her. Destroying it removes the returning projectile from the exchange, giving you less to track.
| Attack | Tell or behavior | Counter |
|---|---|---|
| Holy Cross | A cross flies outward and returns | Strike it within weapon range, or jump over both passes |
| Three-hit melee combo | Alternating arm swipes end in a two-arm slam | Dash through the boss and attack from behind |
| Anchor swing | The Fallen swings across the arena overhead | Crouch or slide beneath the sweep; avoid the center |
| Landing shock wave | Both arms rise before an airborne slam | Jump over the shock wave |
| Arcane Whip | The boss unfurls a nearly arena-length whip | Jump or move quickly to the opposite side |
Handle the opening phase
Begin at mid-range so you can read the cross throw without standing directly inside the claw attacks. Once the cross is gone, watch for the melee sequence.
Do not mistake the delays between individual swings for the end of the combo. Move behind The Fallen, land a few quick hits, and disengage before another attack begins.
Among the early Castlevania: Belmont's Curse bosses, The Fallen makes the danger of overcommitting especially clear. A successful dodge gives you an opening, but it does not guarantee time for an uninterrupted combo.
Respond to the anchor phase
After roughly one-third of its health is depleted, The Fallen begins swinging from the overhead Anchor. Stay low during the horizontal movement and prepare for the landing.
Watch the raised arms rather than attacking immediately when the swing ends. The ground slam produces a shock wave, so save your jump for that follow-up.
Victory grants Holy Cross, Arcane Whip, and The Fallen’s Key. Holy Cross gives Rose a returning projectile, while Arcane Whip enables grappling onto enemies and Anchors. The key is one of three needed to open the sealed Catacombs door.
Joan: Attack From Behind and Escape the Flames
Joan combines deliberate sword attacks with fire patterns that demand different responses. Her forward lunges invite you to dash behind her, while her arena attacks require careful positioning or Anchor movement.
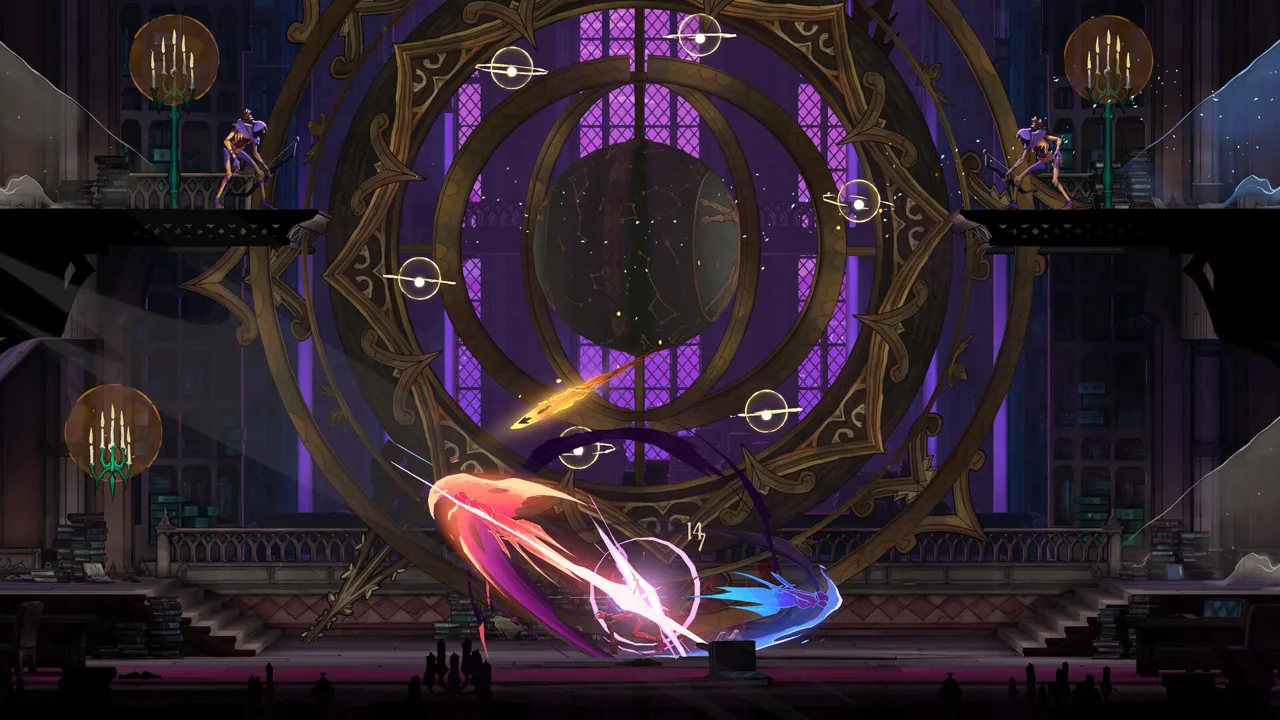 Image: Steam / KONAMI
Use the Cestus for quick punishment during those rear openings. Keep each attack sequence controlled, because Joan can also thrust her sword backward.
| Attack | Tell or behavior | Counter |
|---|---|---|
| Forward sword attack | Joan lunges or drags her blade along the ground | Dash through and strike from behind |
| Backward sword thrust | Joan attacks the space behind her | Stop attacking and evade |
| Falling fireballs | Floating fireballs descend when she raises her arm | Stand between their landing paths |
| Midfight fire waves | Joan leaps with her sword held in both hands | Grapple to an Anchor and swing toward the center |
Use the gaps between fireballs
When the row of fireballs appears overhead, check the spaces beneath them before committing to another attack. Joan’s raised arm and shouted warning signal their descent.
Move between the falling flames. This opening can also give you time to heal or throw a cross, provided Rose is already standing clear of the landing paths.
Avoid chasing Joan across the arena while watching only her sword. The overhead fire creates a separate threat, and reaching her is less useful than arriving with room to dodge.
Save your movement for the midpoint attack
At approximately half health, Joan jumps and brings her sword down, sending large fire waves up both sides of the arena. Use one of the two Anchors to swing inward.
An Anchor becomes temporarily disabled by black flames after you grab it. Check which one remains usable before planning another swing.
The movement lesson carries across Castlevania: Belmont's Curse bosses: use the arena’s grappling points when an attack demands them, and watch what changes after you do.
Defeating Joan gives Rose another key and places Joan on the Warrior card. Her Infernal Pyre provides a ground-based flame attack, adding another spell to your combat options.
Medusa and Isaac: Exploit Reach and Recovery
Medusa and Isaac reward different kinds of awareness. Against Medusa, track platforms and cover. Against Isaac, track the spear even after it leaves his hand.
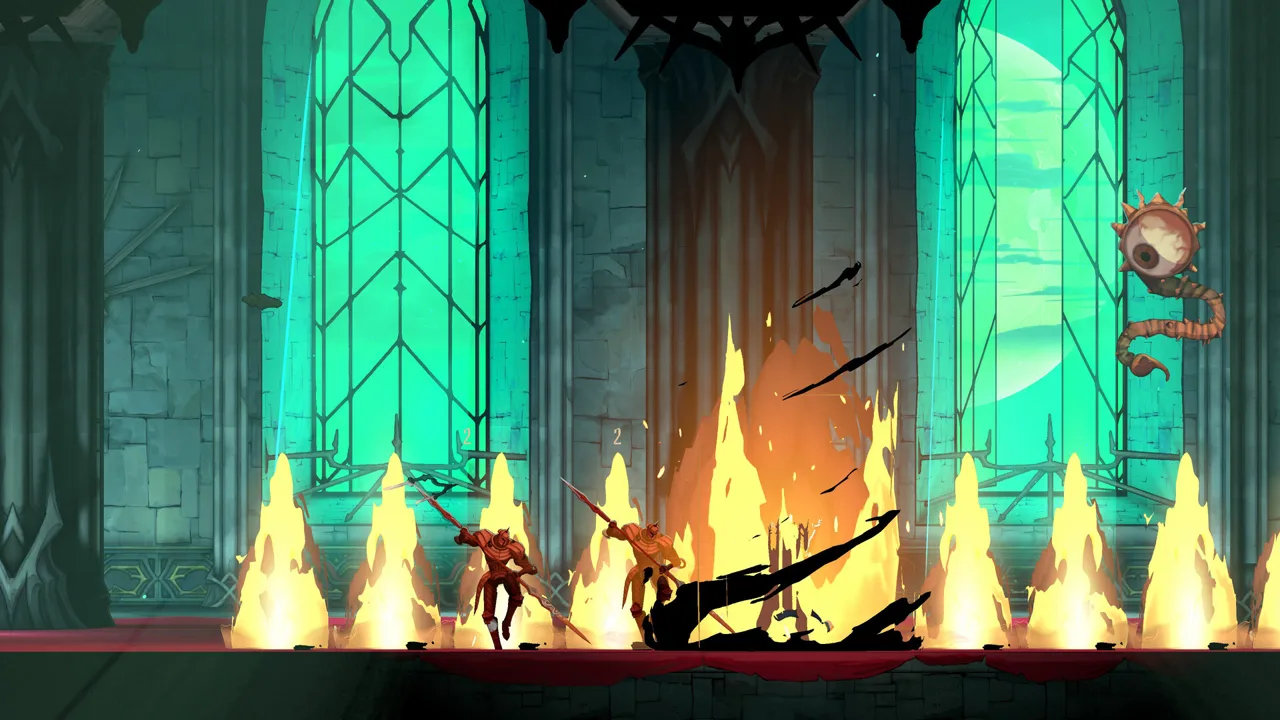 Image: Steam / KONAMI
Medusa: use Holy Cross and the boulders
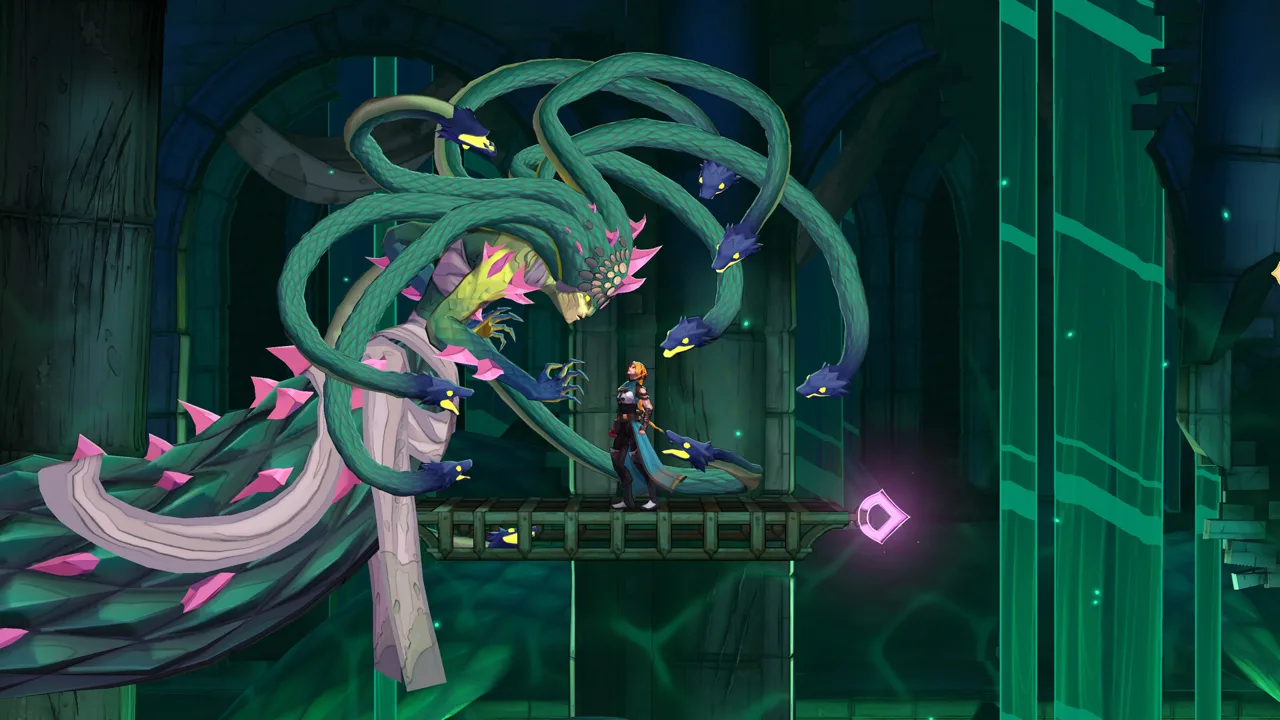
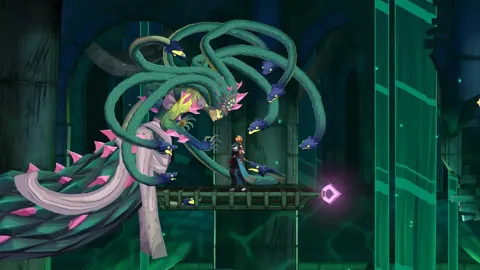
Equip Holy Cross for this battle. It can damage Medusa’s large body, while Joan’s Infernal Pyre cannot reach her because she occupies a different platform from Rose.
Open with quick weapon strikes and cross throws. A Lance provides a fast melee option. When Medusa moves to the opposite side, swing across and resume attacking from the appropriate platform.
| Threat | What to watch | Response |
|---|---|---|
| Tail attacks | Rose occupies a bottom platform | Stay on upper platforms during normal exchanges |
| Petrifying rays | Medusa pulls backward before firing | Hide behind the fallen boulder on the opposite lower side |
| Medusa Heads | Additional enemies enter the arena | Track them while maintaining your position |
| Upper-platform barrage | Snake heads repeatedly strike a platform | Swing to the opposite platform and throw crosses |
The petrifying rays make cover essential. If Medusa is on the left, use the boulder on the right lower platform; if she is on the right, use the left-side boulder.
Leave the upper platforms when the ray attack calls for it, then return to your normal fighting position afterward. Staying below for the entire battle exposes Rose to the tail.
Medusa demonstrates why choosing Arcana for Castlevania: Belmont's Curse bosses requires attention to where an attack lands. Bring Holy Cross here rather than relying on a ground eruption that cannot connect.
Isaac: keep moving through the spear throws
The first Isaac encounter follows the Notre-Dame Bridge platforming stretch. Preserve potions during that approach and collect the Meat hidden directly above the door leading to Isaac to recover health before entering.
Dash behind his grounded attacks, but respect the spear’s long reach. Stop attacking when he takes to the air and throws it.
The spear can spin or home toward Rose’s previous position. It spins three times before returning to Isaac, targeting her during the sequence. Keep moving through all three rather than stopping after the initial pass.
If you can time Holy Light parries, use them against Isaac’s clearly telegraphed attacks. Otherwise, concentrate on evasion and punish his recovery with short bursts.
Carmilla and Death: Watch the Curse, Recognize the Encounter
Carmilla adds a second survival condition beyond Rose’s health bar. Death’s early Catacombs appearance presents a different situation entirely: Rose is expected to lose.
Carmilla: break the shields before attacking her
Carmilla opens with an unavoidable blood curse that places 8 above Rose. Each hit from a blood attack lowers that number, and reaching 0 triggers a lethal grab.
Treat every blood pattern as a priority. Keeping your health high does not remove the danger of exhausting the curse counter.
| Mechanic | What happens | Your response |
|---|---|---|
| Rotating skull shields | Carmilla remains immune to damage | Break both shields before attacking her |
| Traveling blood waves | Waves cross the arena in both directions | Jump over the pinkish crest |
| Midfight blood pillars | Pillars appear in patterned positions | Move into the visible safe spaces |
| Late pillar-and-wave sequence | Large pillar rows accompany pairs of waves | Keep space to jump each incoming wave |
| Final central enclosure | Pillars confine Rose near the middle | Evade the waves while finishing Carmilla |
During the opening, focus your attacks on the two skull shields. Once they break, turn that opening into damage against Carmilla herself.
At half health, she begins creating blood pillars. Read their placement before attacking. Near the end, pillar rows and blood waves combine, making it especially dangerous to commit to a long attack sequence.
Carmilla changes how you approach Castlevania: Belmont's Curse bosses because healing alone cannot solve the encounter. Watch the number above Rose and prioritize avoiding blood attacks.
Early Death: continue after the defeat
The early Death encounter takes place in the Catacombs. Getting close can provoke a skeletal-finger attack that removes nearly all of Rose’s health, followed by a teleport and devastating scythe swing.
You are expected to lose this encounter. The defeat leads into the following cutscene, so continue the story afterward.
Across Castlevania: Belmont's Curse bosses, defeated enemies become Arcana sealed within Rose’s tarot cards, granting spells and special actions. Revisit your loadout as those options grow: breaking The Fallen’s cross, swinging past Joan’s flames, and choosing Holy Cross for Medusa each solve a different problem.
FAQ
Who is the first boss in Castlevania: Belmont's Curse?
The Fallen is the first major boss, encountered in the sewers. Strike its thrown cross to destroy it, evade its melee combo, and watch for Anchor swings and landing shock waves.
What rewards do you get for defeating The Fallen?
You receive Holy Cross, Arcane Whip, and The Fallen’s Key. Arcane Whip enables grappling onto enemies and Anchors, while the key contributes to opening the sealed Catacombs door.
Are you supposed to beat Death in the early Catacombs encounter?
You are expected to lose the early encounter. Death’s attacks overwhelm Rose, and the resulting defeat leads into a story cutscene.
Can you reduce the difficulty of Castlevania: Belmont's Curse bosses?
Yes. Open the Gameplay tab to adjust damage sliders. You can also enable “Allow respawn in front of boss doors” to reduce travel between attempts.
Continue with
 Castlevania: Belmont's Curse Joan Fight: Boss GuideWin the Castlevania: Belmont's Curse Joan fight with sword counters, fire-rain dodges, and whip-anchor timing. Learn both phases and every boss reward.
More in Bosses
See all Bosses
Popular pages
Castlevania: Belmont's Curse Release Date & Prices
Castlevania: Belmont's Curse release date is October 15, 2026. Compare editions, US prices, platforms, and PC requirements before buying Rose's adventure.
Castlevania: Belmont's Curse Achievements: Full Guide
Track Castlevania: Belmont's Curse achievements with the full trophy list, collectible goals, ending requirements, and a clear route to 100% completion.
Castlevania: Belmont's Curse Collector's Edition Guide
Shopping for a Castlevania: Belmont's Curse collector's edition? Compare Midnight and Night One extras, U.S. prices, and physical bonuses before you buy.
Castlevania: Belmont's Curse PS5: Price & Demo Guide
Castlevania: Belmont's Curse PS5 is out now. Compare editions, check the $29.99 price, explore combat features, and try the free demo before buying a copy.
Join the community
Official channels for news, updates and player help: