
Castlevania: Belmont's Curse Medusa Boss Fight Guide
Beat the Castlevania: Belmont's Curse Medusa fight with the fountain route, gaze counters, rock cover strategy, and tips for claiming the Prophetess' Key.
Jump to
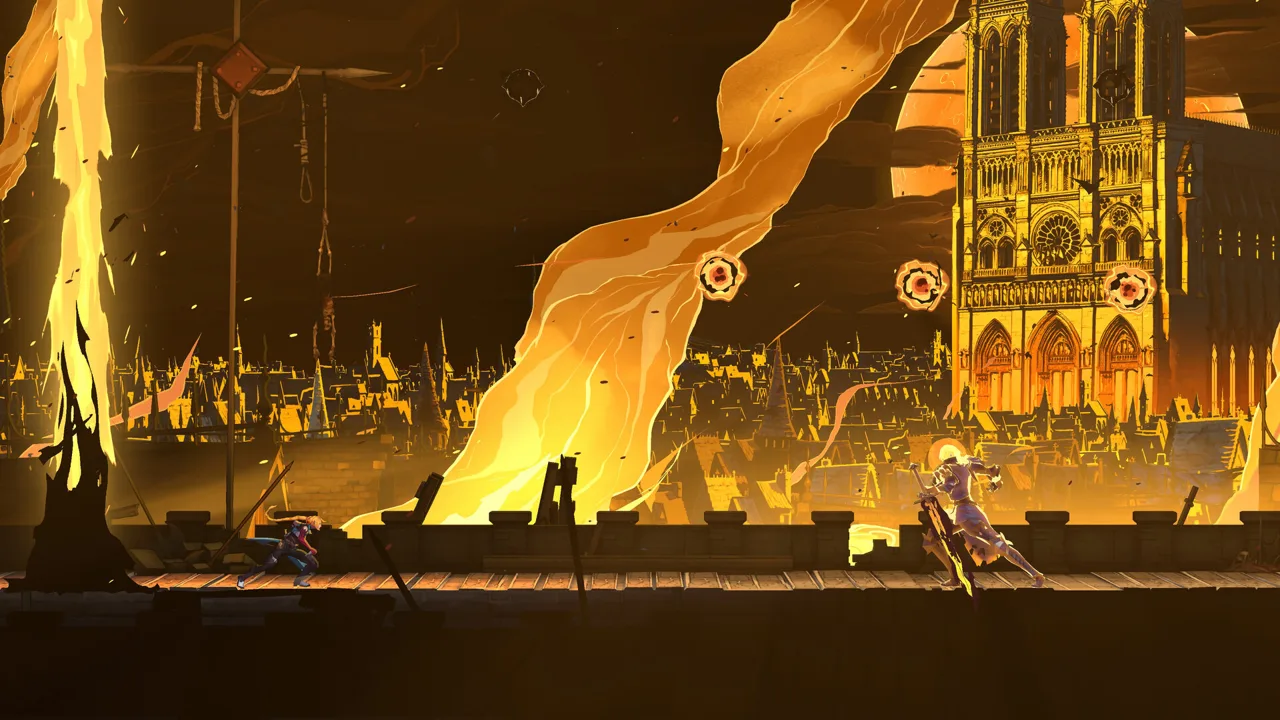
Where to Find Medusa and How to Beat Her
The Castlevania: Belmont's Curse Medusa fight becomes much more manageable once you spot the large rock that blocks her room-filling lasers. Defeating the Prophetess earns a key needed for the catacombs gate, so learning that defensive sequence keeps your journey moving. This Castlevania: Belmont's Curse Medusa guide walks you through the hidden fountain entrance, platform movement, useful weapons, and rewards.
The core strategy is straightforward: attack from the upper platform near Medusa, drop away from her arm attacks, and use your whip to return. When she starts her extended barrage, cross to the opposite raised platform, then shelter behind the large rock below.
Finding her takes a little exploration. Medusa waits beneath Holy Innocents' Cemetery, west of Paris Streets. Her underground entrance is easy to overlook because reaching it requires dropping into water.
Follow this route:
| Area or landmark | What to do | Where it leads |
|---|---|---|
| Street of the Tomb Masons | Head left from this part of Paris Streets | Holy Innocents' Cemetery |
| Holy Innocents' Cemetery | Continue left toward the Fountain of the Lost | The hidden underground entrance |
| Fountain of the Lost | Drop into the fountain’s water | Serpent's Lair |
| Serpent's Lair | Visit the Mirror of Life on the right, then head toward the bottom-left room | Medusa’s arena |
Ordinary water falls send Rose back to a safe platform, but the fountain is the entrance you need. Step into it deliberately instead of searching the surrounding cemetery for another doorway.
Spirits around the cemetery offer hints about reaching the underground area. If you already know the fountain route, head straight there. Before entering Medusa’s room, make the short detour to the Mirror of Life on the right.
Official page: Castlevania: Belmont's Curse (konami.com)
Prepare Your Weapons and Ranged Attacks
For the Castlevania: Belmont's Curse Medusa encounter, equip a lance if you want to keep attacking while separated from the boss. You can throw it from the lower platforms or across the arena, giving you an offensive option during moments when approaching her would put you beside an incoming slam.
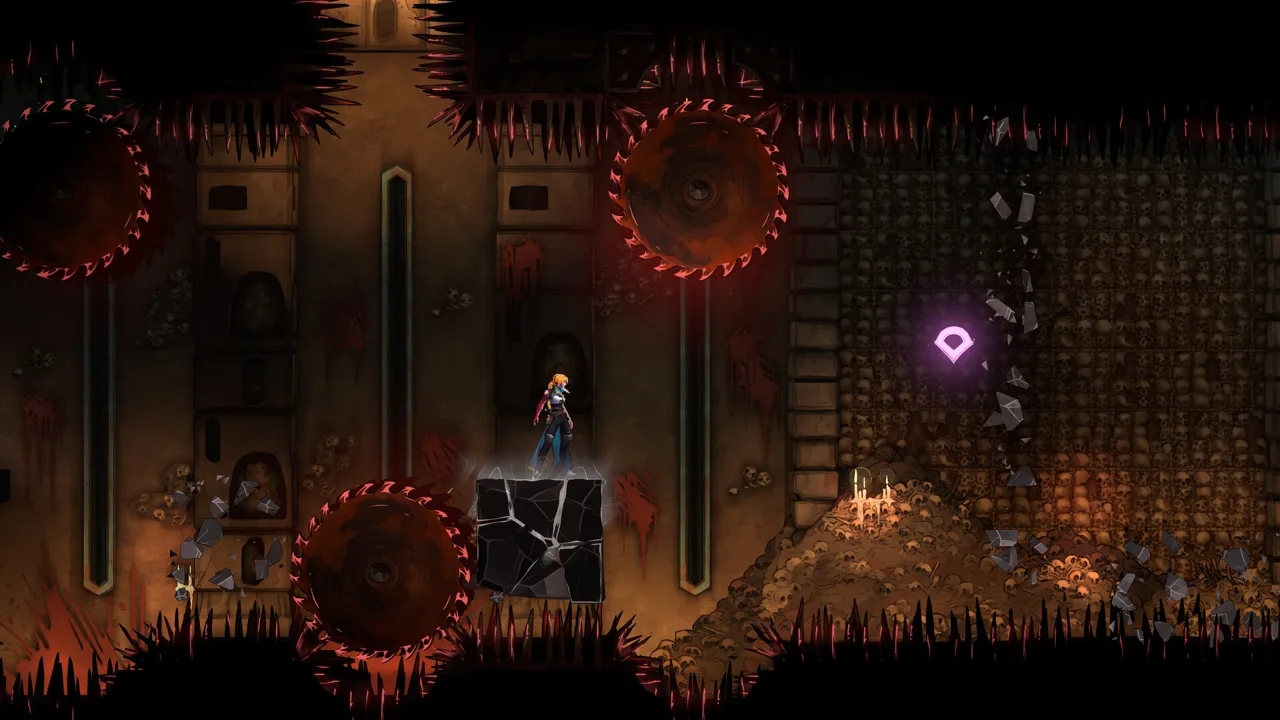 Image: Steam / KONAMI
Ranged spells also let you add damage between melee openings. Cursed Flame and Holy Cross both serve that purpose. Keep your attention on Medusa’s movement while casting; the next attack tell matters more than squeezing in another spell.
| Weapon or spell | What it contributes | How to use it during the fight |
|---|---|---|
| Lance | A thrown attack that reaches Medusa from a distance | Throw from below or across the arena when close attacks are unsafe |
| Cursed Flame | Ranged spell damage | Cast between melee openings |
| Holy Cross | Ranged spell damage | Work throws into openings while continuing to watch her tells |
| Whip | Movement back toward the upper platforms | Grapple to the purple anchor after dropping away from an attack |
Treat movement as part of your preparation. The fight repeatedly asks you to leave a platform and return, so locate the purple grapple anchor early. Practice identifying your route back up before committing to a long stretch of attacks.
Avoid building your plan around standing still and trading damage. Her arm threatens the nearby upper platform, while her tail punishes lingering below. Throw the lance when distance opens up, then reposition as the next attack develops.
Holy Cross gives you another way to pressure her, but keep the rock-cover sequence central to your strategy. Extra damage helps shorten the battle; recognizing the laser attack gives you a clear response when it arrives.
Read Medusa’s Basic Attacks and Control the Platforms
The regular Castlevania: Belmont's Curse Medusa attack pattern revolves around three threats: her arm, her gaze, and her tail. Each targets a different habit. Staying beside her invites a slam, facing her during the gaze risks petrification, and camping below exposes you to tail attacks.
Use the upper platform closest to Medusa for melee openings. Watch her raised arm, take only the hits you have time for, then drop away before the attack lands.
| Attack | Tell or situation | Response |
|---|---|---|
| Arm slam and follow-up slash | Medusa raises an arm before striking the nearby upper platform | Drop off the platform, then grapple back after the sequence |
| Petrifying gaze | She draws back, her eyes flash, or glowing particles gather toward her | Turn Rose’s back to Medusa or drop to the lower platforms |
| Tail attack | Rose remains on the lower platforms | Watch the tail and return upward when the route is clear |
| Medusa heads | Small flying heads enter the arena periodically | Clear them with a hit before refocusing on the boss |
Escape the slam before returning to attack
In the Castlevania: Belmont's Curse medusa fight, Medusa’s raised arm gives you time to recognize the incoming strike. Resist the urge to turn every windup into a full attack string. Land a couple of hits if the opening allows it, then step off.
Her slam has a follow-up slash, so avoid grappling directly back into that continuation. Watch the sequence finish before using the purple anchor to regain height.
Build a repeatable rhythm: approach, attack, drop, and return. That keeps you moving between the arena’s levels instead of leaving you exposed on either one.
Separate the ordinary gaze from the laser barrage
For her regular petrifying attack, turn Rose away when Medusa charges it. Dropping to the lower platforms is another way to avoid the gaze.
If Rose turns to stone, mash buttons to break free. Once you escape, check the next attack before trying to recover lost damage. The tail can still threaten the lower platforms, so use them as a temporary escape route.
The room-filling laser sequence requires a different response: the large fallen rock. Save that distinction in your memory—ordinary gaze means turn or drop; the extended barrage means find cover.
Clear the flying heads promptly
Medusa heads periodically join the fight and die in a single hit. Remove them before settling back into attacks against the boss.
Keep their cleanup brief. Strike the head, check Medusa’s current animation, and resume your movement pattern. Chasing damage while leaving an extra flying enemy nearby adds another threat to an already busy platform exchange.
Survive the Fury Combo and Full-Screen Lasers
The most important Castlevania: Belmont's Curse Medusa mechanic is the transition from her furious platform attacks into the sweeping gaze and laser barrage.
During this sequence, Medusa repeatedly pounds the platform in front of her while her tail strikes the lower platforms. The screen shakes, and falling debris adds another hazard. Move to the raised platform on the opposite side of the arena as the combo begins.
Follow this sequence:
- Recognize the extended combo. Watch for screen shaking, repeated arm attacks, and tail strikes across the lower platforms.
- Cross to the opposite upper platform. Leave the raised platform beside Medusa and use the other side of the arena.
- Watch the lower platform opposite her. A large stone falls there and remains available as cover.
- Wait for the tail to withdraw. Avoid dropping directly into the ongoing lower-platform attacks.
- Get behind the stone. Place it between Rose and Medusa before the sweeping gaze begins.
- Stay sheltered through the barrage. Let the rock block the petrifying beams before moving out.
The large stone is the key landmark. Small falling rocks are hazards to dodge; the large one that stays on the lower platform is your shelter. Keep looking for it as the fury combo ends.
Medusa repeats this sequence during the battle. Later repetitions also bring falling debris, so keep watching above Rose while moving toward cover. Prioritize reaching the large rock without getting distracted by another chance to attack.
If the lasers keep catching you, review where your movement breaks down. Leaving Medusa’s side late makes the cross-arena trip harder. Dropping too early puts you among the tail strikes. Waiting too long after the stone lands leaves less time to shelter.
Keep the sequence simple: opposite upper platform, tail withdrawal, lower-platform rock. Once behind cover, wait out the beams and prepare to resume the regular attack rhythm.
Medusa Rewards and What to Do Next
Winning the Castlevania: Belmont's Curse Medusa fight seals her into the Prophetess tarot card and gives Rose the Petrifying Gaze Arcana. You also obtain the Prophetess' Key, one of the keys needed to open the catacombs gate.
If you have already defeated the Fallen and Joan of Arc, this completes that set of keys. Return toward the catacombs door to continue.
| Reward | How you receive it | What it does |
|---|---|---|
| Prophetess' Key | Defeat Medusa | Contributes to opening the catacombs gate |
| Petrifying Gaze Arcana | Defeat Medusa and absorb her power | Temporarily turns enemies caught in its blast to stone |
| Health and magic restoration | Absorb Medusa’s power after the battle | Restores Rose’s health and magic |
Petrifying Gaze gives you a way to interrupt groups of enemies. Aim it into a crowd when you need breathing room, then use the pause to reposition or attack.
Flying enemies struck by the spell fall out of the air. Try it against airborne threats on the return trip to see how it changes their positioning.
You have spent the fight escaping Medusa’s gaze; now you can use that same kind of control during exploration. Keep the spell in mind when several enemies threaten your route at once.
FAQ
Where is Medusa in Castlevania: Belmont's Curse?
Medusa is in Serpent's Lair beneath Holy Innocents' Cemetery, west of Paris Streets. Find the Fountain of the Lost and drop into its water. Her boss room is toward the bottom left; visit the Mirror of Life on the right before entering.
How do you avoid the lasers in the Castlevania: Belmont's Curse Medusa fight?
Move to the upper platform opposite Medusa during her fury combo. After her tail withdraws, drop to the lower platform opposite her and hide behind the large fallen rock. Keep the stone between Rose and Medusa throughout the laser barrage.
How do you stop Medusa from turning Rose to stone?
Turn Rose’s back to Medusa when she charges her ordinary petrifying gaze, or drop to the lower platforms to avoid it. If you are petrified, mash buttons to break free. Use the large rock for her room-filling laser sequence.
What do you get for defeating Medusa?
You receive the Prophetess' Key and Petrifying Gaze Arcana, and absorbing Medusa’s power restores health and magic. The key helps open the catacombs gate, while Petrifying Gaze temporarily immobilizes enemies and knocks flying targets out of the air.
Continue with
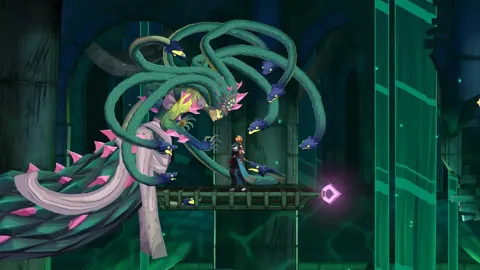 Castlevania: Belmont's Curse Bosses: Combat StrategiesMaster Castlevania: Belmont's Curse bosses with attack counters, Arcana tips, and strategies for The Fallen, Joan, Medusa, Isaac, Carmilla, and Death.
More in Bosses
See all Bosses
Popular pages
Castlevania: Belmont's Curse Release Date & Prices
Castlevania: Belmont's Curse release date is October 15, 2026. Compare editions, US prices, platforms, and PC requirements before buying Rose's adventure.

Castlevania: Belmont's Curse Achievements: Full Guide
Track Castlevania: Belmont's Curse achievements with the full trophy list, collectible goals, ending requirements, and a clear route to 100% completion.
Castlevania: Belmont's Curse Collector's Edition Guide
Shopping for a Castlevania: Belmont's Curse collector's edition? Compare Midnight and Night One extras, U.S. prices, and physical bonuses before you buy.
Castlevania: Belmont's Curse PS5: Price & Demo Guide
Castlevania: Belmont's Curse PS5 is out now. Compare editions, check the $29.99 price, explore combat features, and try the free demo before buying a copy.
Join the community
Official channels for news, updates and player help: