
Castlevania: Belmont's Curse Hall of Mirrors Map: Guide
Unlock the Castlevania: Belmont's Curse hall of mirrors map by defeating The Temptress. Follow the mirror route, open the lever path, and clear the fog.
Jump to
How to Unlock the Hall of Mirrors Map
The Castlevania: Belmont's Curse hall of mirrors map stays foggy until you defeat The Temptress. To unlock the Castlevania: Belmont's Curse hall of mirrors map, free The Sage, follow the mirror route, and win the boss fight. Clearing that fog lets you see the area's layout and makes further exploration much more manageable.
The route involves kneeling before specific mirrors, moving through portals, opening a lever-controlled path, and breaking obstacles. While you work toward the boss, use room features as landmarks: a small mirror on the left, an upper portal, a breakable wall, and a central mirror all mark important turns.
Your progression through the area follows this sequence:
| Objective | Required action | Result |
|---|---|---|
| Free The Sage | Find and destroy four seals | Gain access to the Hall of Mirrors |
| Cross the first section | Descend and kneel before the small left mirror | Teleport to the second section |
| Cross the second section | Navigate portals, operate the lever, and reach the central mirror | Teleport to the third section |
| Reach the boss route | Cross the third section and kneel before its first mirror | Reach the final section |
| Clear the fog | Defeat The Temptress | Reveal the Hall of Mirrors map |
Finding the four seals requires traveling through multiple locations before you can enter this area. Finish that prerequisite, then follow the directions below from the Hall of Mirrors entrance.
Keep the final objective in mind: the fog disappears permanently after The Temptress is defeated. Arriving at her arena is one more step toward that goal.
First Section: Descend to the Small Left Mirror
Your opening objective on the Castlevania: Belmont's Curse hall of mirrors map is to reach the mirror room below the entrance. Start by heading downward through the floors.
- Drop through the mirror-lined floors. Continue descending until you land near a platform that takes you farther down.
- Use the platforms to descend twice. Keep moving toward the lower floors.
- Watch for a doorway on the left. Head through it when it comes into view. Jump over enemies along the approach if you want to keep moving.
- Locate the small mirror on the left. The next room contains a large central mirror with smaller mirrors beside it.
- Kneel before the small left mirror. This teleports you into the next section.
The interaction matters here. Approach the indicated mirror and kneel in front of it to continue along the route.
| Landmark | What to do |
|---|---|
| Floors lined with mirrors | Keep descending |
| Platforms leading farther down | Take the downward route twice |
| Doorway on the left | Enter the adjoining mirror room |
| Small mirror left of the large central mirror | Kneel to teleport |
Use the arrangement inside the mirror room to check your position before interacting. The large mirror gives you a central reference point; your destination is the smaller one to its left.
If enemies crowd the descent, keep your attention on the next platform and the left doorway. The route allows you to pass enemies and jump over them on the way to that door. Choose your landing spots before dropping so you can keep following the lower path.
Second Section: Portals, the Lever, and the Hidden Passage
This section of the Castlevania: Belmont's Curse hall of mirrors map combines several movement sequences. Work through it in order, especially around the lever and the portal you use again afterward.
Reach the Portal and Open the Lever Path
After teleporting, begin this stretch of the Castlevania: Belmont's Curse hall of mirrors map by traveling right through the adjoining rooms.
- Go right through the first door. Pass the enemies along the route.
- Continue right through the next door. Keep following the horizontal path.
- Drop down, then air dash left. Make that change in direction during the descent.
- Reach the bottom floor and enter the right doorway.
- Enter the portal immediately to the right in the next room.
- Climb using the anchors. Enter the higher portal on the left.
- Slide through the gap, then jump up to the lever. Pull it to open the path on the other side.
- Smash downward through the obstacle. Once the obstruction is broken, use the right-hand portal again.
The lever sequence is a useful checkpoint. Before moving on, complete all three actions: pull the lever, break through the obstacle below, and return through the portal on the right.
Keep the upper-left portal and the right-hand return portal distinct in your route notes. One takes you toward the lever; the other is used again after you finish that sequence.
Climb to the Breakable Wall
After returning through the portal, use the anchors to reach the top floor. Turn left and continue past the enemies.
Jump onto the higher platform and break the fake wall to expose the upward passage. Continue climbing on the temporary platforms, then air dash left while avoiding the wheels.
Watch the movement through this stretch before committing to the dash. Aim to cross toward the left while keeping clear of the wheel hazards along the route.
Reach the Central Mirror
In the next room, deal with the enemies and swing up to the higher platform. Approach the mirror in the middle and kneel before it.
That interaction sends you into the third section. Use the table below to check the order if you lose track around the portal rooms.
| Checkpoint | Required action | Next destination |
|---|---|---|
| Two adjoining rooms | Travel right through both doors | Drop and air-dash section |
| Lower route | Air dash left, descend, then take the right door | Portal room |
| Anchor climb | Enter the higher portal on the left | Gap and lever |
| Lever passage | Slide, climb, pull the lever, and smash downward | Right-hand portal |
| Top floor | Turn left and break the fake wall above | Temporary platforms |
| Wheel hazards | Climb and air dash left | Room with the central mirror |
| Higher platform | Kneel before the middle mirror | Third section |
The central mirror marks the end of this stretch. Once you teleport, switch to the directions below; the next section begins with another descent.
Third Section: Follow the Portals to the Final Mirror
The next stretch of the Castlevania: Belmont's Curse hall of mirrors map takes you through another obstacle and portal sequence. Start by moving down from the arrival point.
- Use the platform to descend. Enter the doorway on the right.
- Ride the temporary platform upward. Reach the higher floor and smash the obstacle blocking your path.
- Head left past the enemies.
- Drop down and enter the portal on the right.
- Cross to the other side and use the next portal.
- Kneel before the first mirror you encounter. This sends you toward the final section.
Treat the breakable obstacle as your landmark near the beginning of this route. You need to take the temporary platform upward and clear that obstruction before continuing left.
Afterward, follow the portal sequence through to the mirror interaction. Keep track of each transition so you know whether your next action is to cross the room, enter another portal, or kneel.
| Landmark | Direction or interaction |
|---|---|
| Arrival platform | Descend, then take the right doorway |
| Temporary platform | Ascend to the higher floor |
| Obstacle above | Smash through it |
| Enemy-filled route | Continue left |
| Lower portal | Enter the portal on the right |
| Opposite side | Use the next portal |
| First mirror after the portals | Kneel to reach the final section |
The distinction between portals and mirrors is useful throughout this area. Follow the portal route first, then perform the kneeling interaction at the mirror specified in the steps.
Once that final teleport is complete, your next destination is below you: the boss arena.
Defeat The Temptress to Clear the Fog
To finish unlocking the Castlevania: Belmont's Curse hall of mirrors map, descend past the floors in the final section and enter The Temptress's arena.
She initially appears to Rose as her mother before Rose exposes her identity as a Succubus. The fight that follows is the last requirement for removing the fog.
The Temptress can drain your HP to restore her own health. Avoid getting caught by that attack: it hurts your survival while also giving the boss health back.
Keep these priorities in mind:
- Protect your HP. Pay particular attention to avoiding her health-draining attack.
- Stay patient as the fight continues. Her healing can extend the battle.
- Complete the boss fight. Defeating her permanently clears the map's fog.
Once she falls, you can properly view the Hall of Mirrors map and continue exploring with its layout visible. Use that clearer view to orient yourself after the sequence of mirror teleports and portal crossings.
For a final route check, remember the major interactions in order: the small left mirror, the lever passage, the fake wall, the central mirror, and the first mirror after the third section's portals. Those landmarks carry you through to the descent into The Temptress's arena.
FAQ
How do you unlock the Castlevania: Belmont's Curse hall of mirrors map?
Free The Sage by destroying four seals, navigate the Hall of Mirrors, and defeat The Temptress. Her defeat permanently removes the fog and reveals the map.
Which mirror should you use in the first section?
Kneel before the small mirror on the left in the room containing the large central mirror. Reach that room by descending through the floors and taking the left doorway.
Where is the lever in the second section?
Enter the right-hand portal, climb using the anchors, and take the higher portal on the left. Slide through the gap and jump up to reach the lever. Pull it, smash through the obstacle below, and use the right-hand portal again.
Where do you find The Temptress?
Cross the third section's portals and kneel before the first mirror you encounter. After teleporting into the final section, descend past the floors and enter the boss arena. Defeat her there to clear the fog.
Continue with
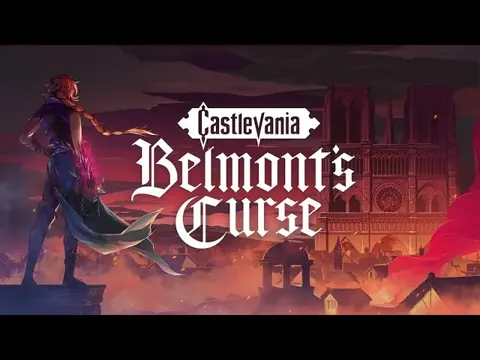 Castlevania: Belmont's Curse Catacombs WalkthroughUse this Castlevania: Belmont's Curse catacombs walkthrough to open the gate, follow Death Mark, collect weapons and Relics, and reach the Ferryman safely.
More in Maps
Castlevania: Belmont's Curse Clock Tower Map Guide
Use the Castlevania: Belmont's Curse clock tower map guide to reach the summit, solve the iron fist puzzle, find the Claymore, and unlock the lower boss.
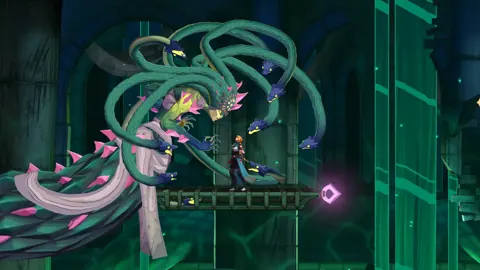
Castlevania: Belmont's Curse Fast Travel: Full Guide
Learn Castlevania: Belmont's Curse fast travel, find the Ferryman's Wharf, and use Mirrors of Life to revisit unlocked locations across Paris and beyond.
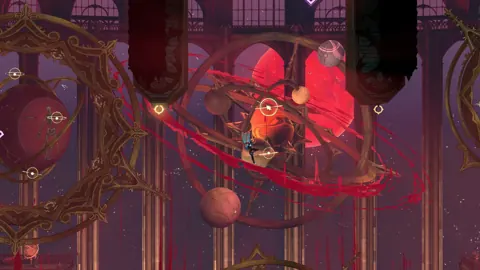
Castlevania: Belmont's Curse Fountain of the Lost Chest
Open Castlevania: Belmont's Curse fountain of the lost chest by clearing four linked challenges, then use the fountain shortcut to explore the cemetery.
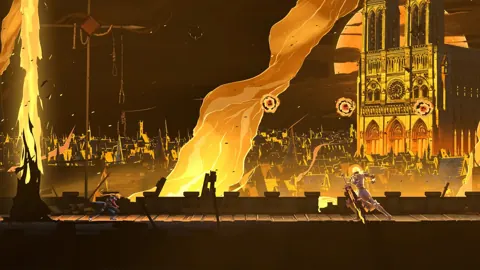
Castlevania: Belmont's Curse Map: Routes and Secrets
Navigate the Castlevania: Belmont's Curse map with the main progression route, movement upgrades, mirror fast travel, and tips for finding hidden rewards.
Join the community
Official channels for news, updates and player help: