
Castlevania: Belmont's Curse Map: Routes and Secrets
Navigate the Castlevania: Belmont's Curse map with the main progression route, movement upgrades, mirror fast travel, and tips for finding hidden rewards.
Jump to
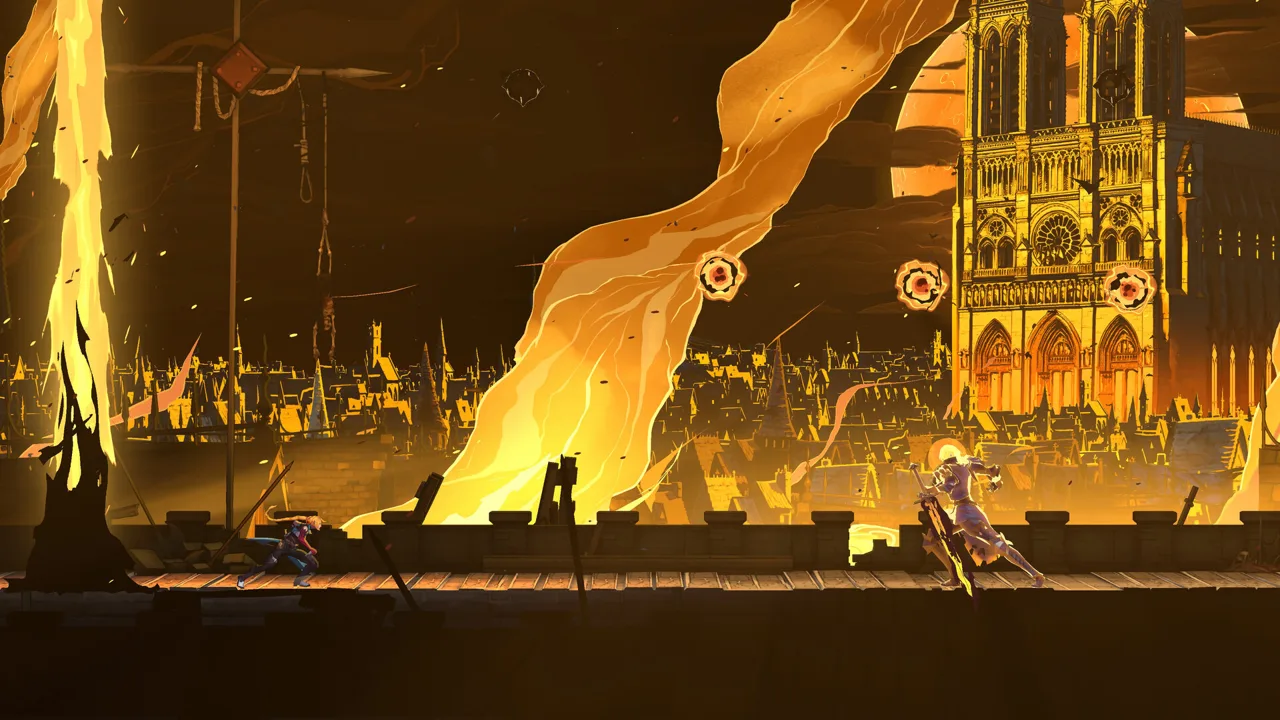
Castlevania: Belmont's Curse Map: Where to Go Next
The Castlevania: Belmont's Curse map becomes much easier to navigate once you know which movement upgrades open the next route. Follow the wrong lead in Dracula's castle, and you can reach an ending before uncovering the abilities needed to explore its deeper secrets. Use this Castlevania: Belmont's Curse map guide to follow the main progression route, shorten return trips, and recognize blocked paths worth revisiting.
The main route is Paris → Main Hall → Eastern Access Shaft for Smash → Library for Aerial Rush and the paintbrush → Notre Dame Cathedral for double jump → upper Clock Tower.
The opening journey takes you through the parish streets, Holy Innocent Cemetery, and Catacombs of Paris. These areas are relatively linear, although visible rewards and inaccessible passages give you reasons to return later.
Dracula's castle changes the rhythm. The Main Hall branches in several directions, and a revealed Arcana marker can pull your attention away from the upgrade you actually need.
| Area or destination | Main objective | Progression reward or next step |
|---|---|---|
| Parish streets, cemetery, and catacombs | Follow the opening route toward the castle | Reach the Main Hall |
| Eastern Access Shaft | Solve the fist-block puzzle and defeat the Builder | Smash |
| Library | Work through the globe puzzle and defeat the boss | Aerial Rush and paintbrush |
| Notre Dame Cathedral painting | Explore the cathedral and resolve its piano-related mystery | Double jump and Shadow Arcana |
| Upper Clock Tower | Face Isaac with Shadow Arcana equipped | Access toward the Master's Quarters |
Use this route as your reference whenever exploration starts feeling aimless. You can still investigate side rooms, collect equipment, and chase upgrades between major objectives. Just keep the next movement ability in mind when deciding whether a long detour is worth pursuing.
Progression and ending requirements are discussed below, while puzzle solutions remain limited to directional hints.
Official page: Castlevania: Belmont's Curse (konami.com)
Get Smash Before Climbing the Entire Clock Tower
Your first major objective inside the castle is Smash, the ability that breaks floors marked with yellowish cracks.
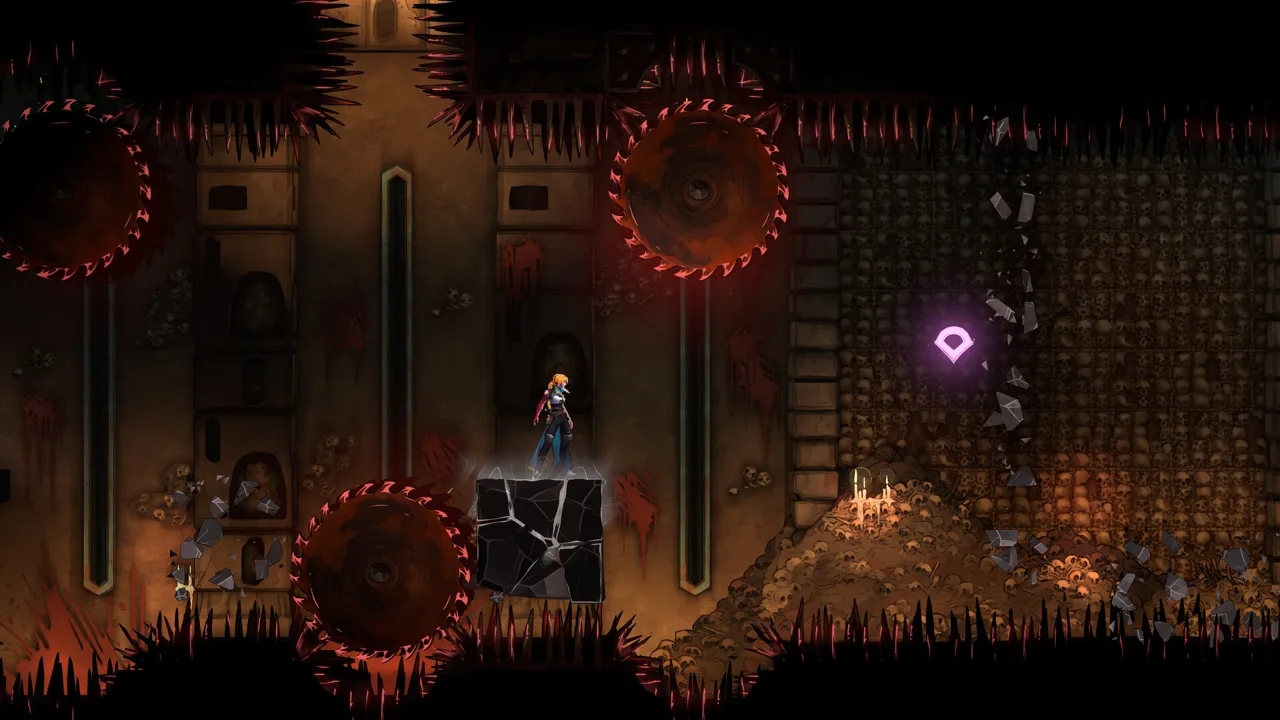 Image: Steam / KONAMI
From the Main Hall, head upward toward the Clock Tower above the first save room. You need to enter this part of the castle, but you do not need to climb all the way to its summit.
Follow these steps:
- Explore upward from the Main Hall's first save room.
- Find the sub-area called the Eastern Access Shaft.
- Investigate the puzzle involving enormous fist blocks.
- Follow the route that leads down toward the Builder Arcana.
- Defeat the boss to obtain Smash.
The Zealot marker is an easy distraction. It appears in the Clock Tower because the associated card's clues have been revealed; its appearance does not make it your required destination.
Climbing onward toward Isaac at this stage leads to the bad ending. Seeing that ending returns Rose to her last save point and unlocks a skin, so you can continue exploring afterward.
What to Revisit With Smash
Once Smash is available, the Castlevania: Belmont's Curse map gains several useful return routes. Head back through the opening regions to break cracked floors and collect health upgrades, mana upgrades, and weapons.
Keep those trips focused. The early regions also contain routes toward the optional Miser and Whisperer Arcanas, reached by obtaining special relics in the streets and cemetery and taking them to the catacombs. Their enemies and bosses are difficult at this stage.
Mark unfinished challenges and continue toward the Library if those encounters are slowing your progress.
| Obstacle or landmark | Required ability or item | What to do |
|---|---|---|
| Floors with yellowish cracks | Smash | Revisit them after defeating the Builder |
| Large yellow-cracked statue in Verona's Atelier | Smash | Break it to investigate the route beneath |
| Artist's Notre Dame painting | Paintbrush and Artist Arcana | Return after completing the Library |
| Routes requiring extra aerial reach | Aerial Rush or double jump | Mark them and revisit as movement options expand |
Do not expect Smash to finish every secret in Paris. It opens a useful cleanup pass, while later movement upgrades make additional paths accessible.
Follow the Library Route Into Notre Dame Cathedral
The Library is your next progression target. You can enter from the Clock Tower or through the northeast corner of the Grand Hall section of the Main Hall.
Inside, look for the large globes surrounded by small bouncing orbs. This puzzle does not require another movement upgrade. Read the clue found in the study and use it to work out the interaction.
If you are circling the room looking for an inaccessible exit, stop and reread that clue. The solution depends on understanding the room rather than leaving to find another ability.
Defeating the Library boss gives you two important rewards:
- Aerial Rush, an air dash that expands your traversal options.
- The paintbrush, a key item needed for the Artist's painting.
Aerial Rush opens additional opportunities to retrieve relics and weapons. Mark those opportunities, then return to the Main Hall to advance the central route.
Entering the Cathedral Painting
The next major destination on the Castlevania: Belmont's Curse map is reached through the Artist's painting.
Visit Verona's Atelier, just off the Grand Hall. Break the massive yellow-cracked statue with Smash and investigate the room below, where the Notre Dame Cathedral painting waits.
The paintbrush and Artist Arcana allow you to enter the painting. If you investigated this room earlier without the paintbrush, return now.
Inside Notre Dame Cathedral, explore for clues connected to the large piano in the basement. The area contains numerous secrets, so use map markers to separate unfinished puzzle leads from rewards you cannot reach yet.
At the end of this route, defeating the Shadow boss grants double jump and the Shadow Arcana. Double jump further expands exploration, while Shadow Arcana has a specific role in the return to Isaac.
Before leaving, check your markers against the abilities you now possess. Revisiting a nearby ledge immediately can save another trip across the region later.
Use Map Markers, Mirrors, and Ferrymen Doors
The Castlevania: Belmont's Curse map is divided into large regions connected by passages and special ferrymen doors. Within those regions, save-room mirrors provide another way to reduce backtracking.
To travel between unlocked save-room mirrors in the same region:
- Stand directly in front of the mirror.
- Hold down to crouch for a few seconds.
- Enter the mirror hub.
- Choose another unlocked mirror destination.
This interaction is especially useful after collecting a movement upgrade. Instead of retracing every corridor, travel toward the save room nearest a marked obstacle.
On base PS5, entering the mirror hub takes about 15 seconds from the initial crouch until control returns. Use mirrors for longer returns, and compare the nearby walking route before triggering a trip across only a few rooms.
| Navigation tool | Function | How to use it during exploration |
|---|---|---|
| Custom map markers | Record locations you want to revisit | Mark blocked paths and visible rewards |
| Regional percentage trackers | Show exploration progress for individual areas | Check them when planning a cleanup pass |
| Save-room mirrors | Travel between unlocked mirrors within a region | Return toward previously marked obstacles |
| Ferrymen doors | Connect regions for quicker travel | Use uncovered connections when changing regions |
Give your markers consistent meanings. For example, reserve different marker choices for cracked floors, unreachable ledges, and unresolved puzzles. This is an organizational habit rather than an additional game mechanic, but it makes a crowded map easier to read.
Inside the castle, also watch paintings of Alucard: the direction of his sword points the way. Combine those environmental clues with your map instead of following every visible Arcana marker automatically.
Before leaving a region, glance at its percentage tracker and your remaining markers together. Use the percentage to identify unfinished exploration, then use your notes to choose a concrete destination.
Plan Collectible Cleanup and the Final Route
Once you have Smash, Aerial Rush, and double jump, revisit the Castlevania: Belmont's Curse map with a specific checklist. Separate equipment hunting from Arcana hunting so each trip has a clear purpose.
Weapons occupy seven categories, with four strength tiers in each category. Hidden chests and some boss rewards provide new weapons. Relics add equipment effects, while health and magic fragments expand their respective bars when you collect four.
Use those rewards to guide optional exploration:
- Revisit cracked floors in the opening regions.
- Return to ledges and gaps marked before Aerial Rush or double jump.
- Investigate traversal challenges containing weapons or relics.
- Follow unfinished Arcana clues.
- Check the Main Hall's mirror mystery after clearing Notre Dame Cathedral.
The last point leads toward the Hall of Mirrors, an optional area connected to the grandmother trapped in a mirror in the Main Hall.
Avoiding an Early Ending
Your return to the Clock Tower requires preparation beyond reaching its upper rooms. Equip Shadow Arcana before facing Isaac to avoid repeating the bad-ending route.
After defeating him through this progression path, continue toward the final boss in the Master's Quarters, a brief area beyond that encounter.
| Ending-related route | Requirement or trigger | What happens afterward |
|---|---|---|
| Early Clock Tower route | Continue toward Isaac before obtaining and equipping Shadow Arcana | Bad ending; Rose returns to her last save point |
| Later Clock Tower route | Face Isaac with Shadow Arcana equipped | Progress toward the Master's Quarters |
| Normal ending | Complete the final route without having found all Arcana | Resume from the save point before the final battle |
| True-ending preparation | Find all Arcana | Work toward the true ending |
Finding all Arcana matters for the true-ending route. Include optional Arcana areas in your completion plan instead of treating an explored main path as the end of your search.
If you reach the normal ending, resume before the final battle and return to unfinished regions. Use your Castlevania: Belmont's Curse map markers to pick up the search where you left off.
FAQ
What is the main Castlevania: Belmont's Curse map progression route?
Travel through the parish streets, Holy Innocent Cemetery, and Catacombs of Paris to reach the castle. Obtain Smash in the Eastern Access Shaft, complete the Library for Aerial Rush and the paintbrush, then enter the Notre Dame Cathedral painting for double jump and Shadow Arcana.
How do you fast travel between save rooms?
Crouch directly in front of a save-room mirror for a few seconds. This takes Rose into a hub where you can select another unlocked mirror within the same region.
Why is an Arcana marker visible in the Clock Tower so early?
The Zealot's marker appears because the card's clues have been revealed. Follow the Eastern Access Shaft route for Smash before pursuing the upper Clock Tower as your main objective.
Can you continue exploring after an ending?
Yes. The bad ending returns Rose to her last save point. After the normal ending, you can resume from the save point before the final battle and continue searching for remaining Arcana and secrets.
Continue with
 Castlevania: Belmont's Curse Catacombs WalkthroughUse this Castlevania: Belmont's Curse catacombs walkthrough to open the gate, follow Death Mark, collect weapons and Relics, and reach the Ferryman safely.
More in Maps
Castlevania: Belmont's Curse Fast Travel: Full Guide
Learn Castlevania: Belmont's Curse fast travel, find the Ferryman's Wharf, and use Mirrors of Life to revisit unlocked locations across Paris and beyond.
Castlevania: Belmont's Curse Fountain of the Lost Chest
Open Castlevania: Belmont's Curse fountain of the lost chest by clearing four linked challenges, then use the fountain shortcut to explore the cemetery.
Join the community
Official channels for news, updates and player help: