
Castlevania: Belmont's Curse Fast Travel: Full Guide
Learn Castlevania: Belmont's Curse fast travel, find the Ferryman's Wharf, and use Mirrors of Life to revisit unlocked locations across Paris and beyond.
Jump to
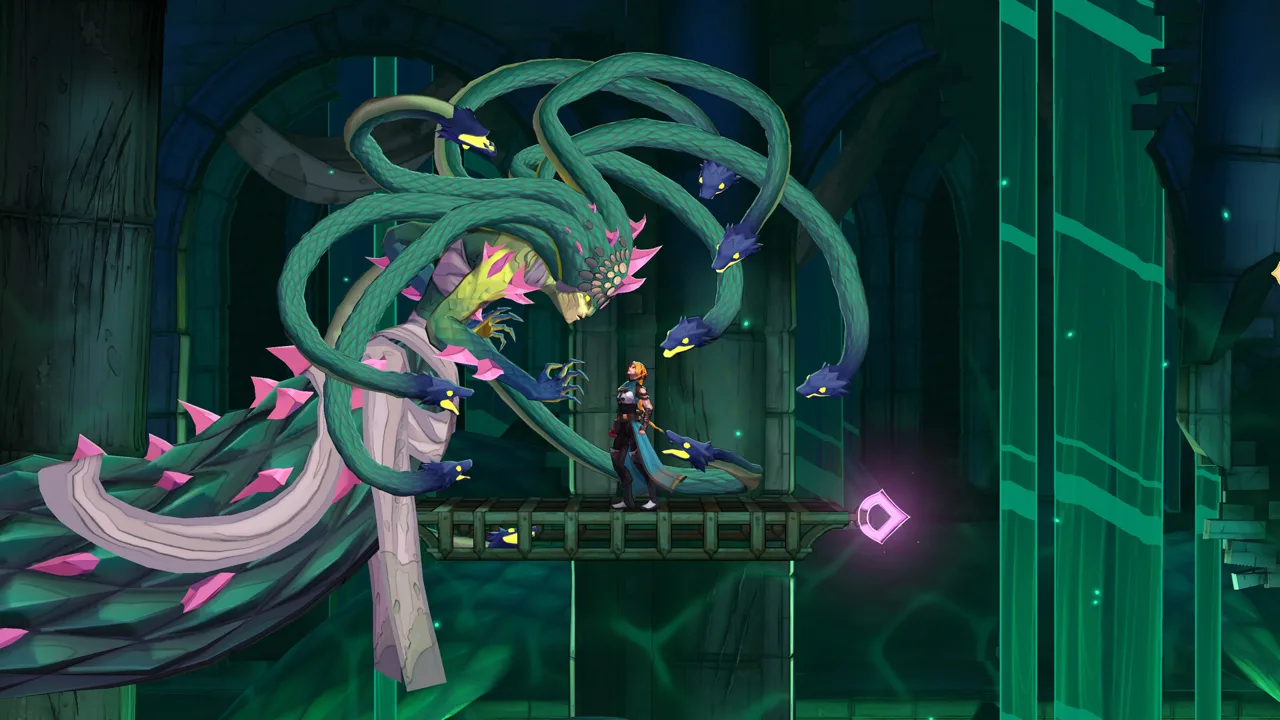
How to Fast Travel in Castlevania: Belmont's Curse
Stop retracing every corridor: Castlevania: Belmont's Curse fast travel gives you two ways to shorten the journey. Use the Ferryman to move between regions and Mirrors of Life to reach discovered save rooms within your current region. Learning both sides of Castlevania: Belmont's Curse fast travel makes returning for missed collectibles much less of a trek.
The mirror method is particularly easy to overlook. Stand in front of a Mirror of Life and hold down to crouch for a few seconds. Rose will enter the Hall of Mirrors, where you can crouch before another available mirror to travel to its connected save room.
The Ferryman works through a separate network of wharfs. You meet him during story progression in the Catacombs of Paris, after your initial encounter with Death. His destinations are accessed through glowing blue doors.
| Travel method | How to access it | Where it takes you | Main restriction |
|---|---|---|---|
| Ferryman's Wharf | Enter a wharf and interact with the altar after speaking to the Ferryman | Other available wharfs across regions | Travel starts from a wharf |
| Mirrors of Life | Crouch before a mirror to enter the Hall of Mirrors | Discovered Mirror of Life save rooms | Movement between the hall's regional floors is restricted until late in the game |
Both networks expand as you explore. Neither lets you jump straight into an undiscovered save room or skip finding the relevant destinations.
Progression spoilers follow, including the bosses and route leading to the Ferryman.
Official page: Castlevania: Belmont's Curse (konami.com)
How to Unlock the Ferryman's Wharf
The Ferryman joins your route through the main story, so you do not need to hunt down an optional quest to unlock his transportation service. Reaching him does require pushing through the Paris bosses and descending into the Catacombs.
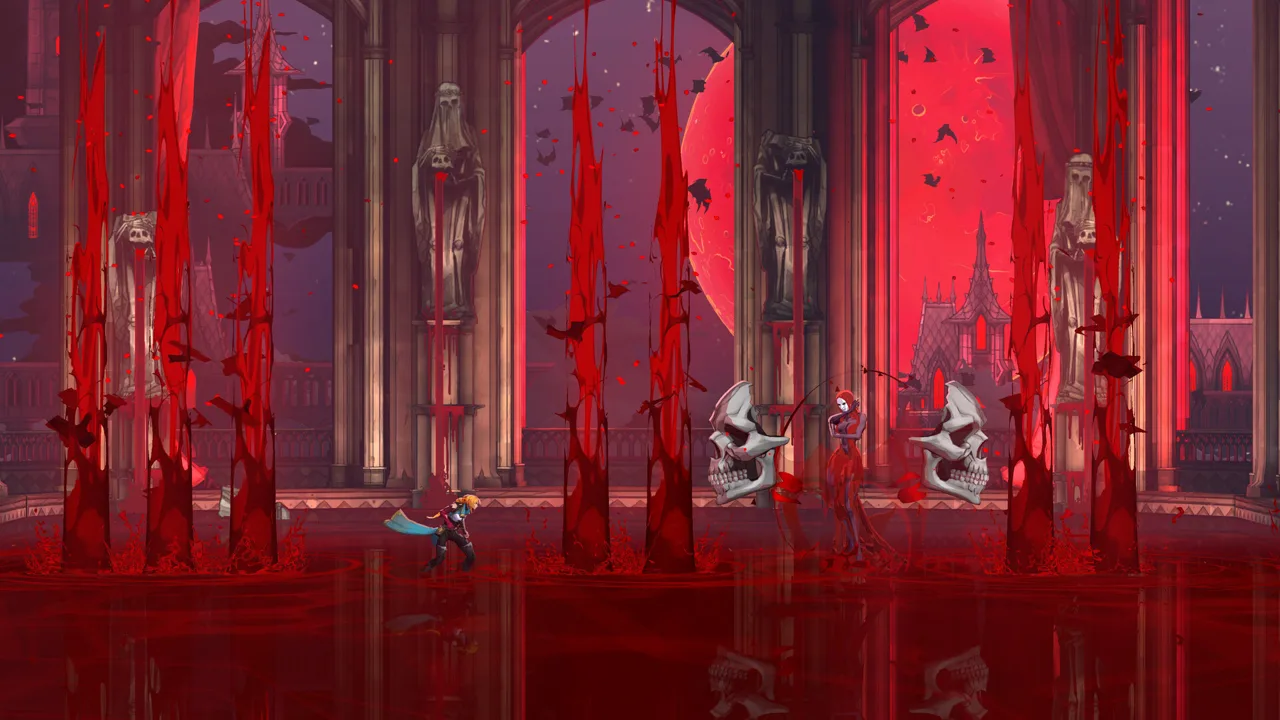 Image: Steam / KONAMI
Reach the Catacombs of Paris
Before entering the Catacombs, you need the emblems obtained by defeating Medusa, Joan at the top of Prison Tower, and The Fallen.
Once inside, follow the route downward. Green wall markers help you stay oriented during the descent. Open the paths back toward the mirror room as you go; those connections let you use the elevator to move between that room and the lower stretches.
Do not confuse those local shortcuts with the Ferryman network. They help you navigate the Catacombs while you are still working toward its unlock.
Continue After the First Death Encounter
At the bottom of the Catacombs, Rose encounters Death. This initial confrontation is a scripted loss. Death touching Rose ends the encounter and moves the story forward.
After the following scenes, you must climb out through the Collapsed Path of Orpheus. This vertical route includes spikes, Chaos Shard walls, and Anchors used for whip traversal.
Keep working upward until you reach a room with three skull pyres in its walls. There are exits on both sides. Take the right-hand exit to reach the glowing blue door leading to the Ferryman's Wharf.
| Progression point | What to do |
|---|---|
| Paris bosses | Defeat Medusa, Joan, and The Fallen for their emblems |
| Catacombs descent | Follow the downward route and use green wall markers for orientation |
| Initial Death encounter | Continue through the scripted loss and subsequent scenes |
| Collapsed Path of Orpheus | Climb using the available platforming route and Anchors |
| Room with three skull pyres | Take the right-hand exit |
| Glowing blue door | Enter the Ferryman's Wharf |
| Inside the wharf | Speak to the Ferryman, then interact with the altar |
This part of Castlevania: Belmont's Curse fast travel becomes available through progression rather than through a hidden controller input. If you are still exploring Paris before the Catacombs, continue toward those boss emblems.
Recognize Other Wharf Entrances
After meeting the Ferryman, watch for glowing blue doors leading to additional wharfs in the Castlevania: Belmont's Curse fast travel network. A blue lantern icon marks a Ferryman's Wharf on the map.
Enter these locations as you find them to expand your available destinations. The Ferryman's service operates between wharfs, so you must reach one before taking a trip.
Check where each wharf opens into its surrounding region. When planning a return journey, use that entrance as your starting point for the remaining walk to your objective.
How to Use Mirrors of Life and the Hall of Mirrors
Mirrors of Life already serve as save rooms, restore Rose's health, and set her respawn point. Their transportation function uses a different action: crouching in front of the mirror.
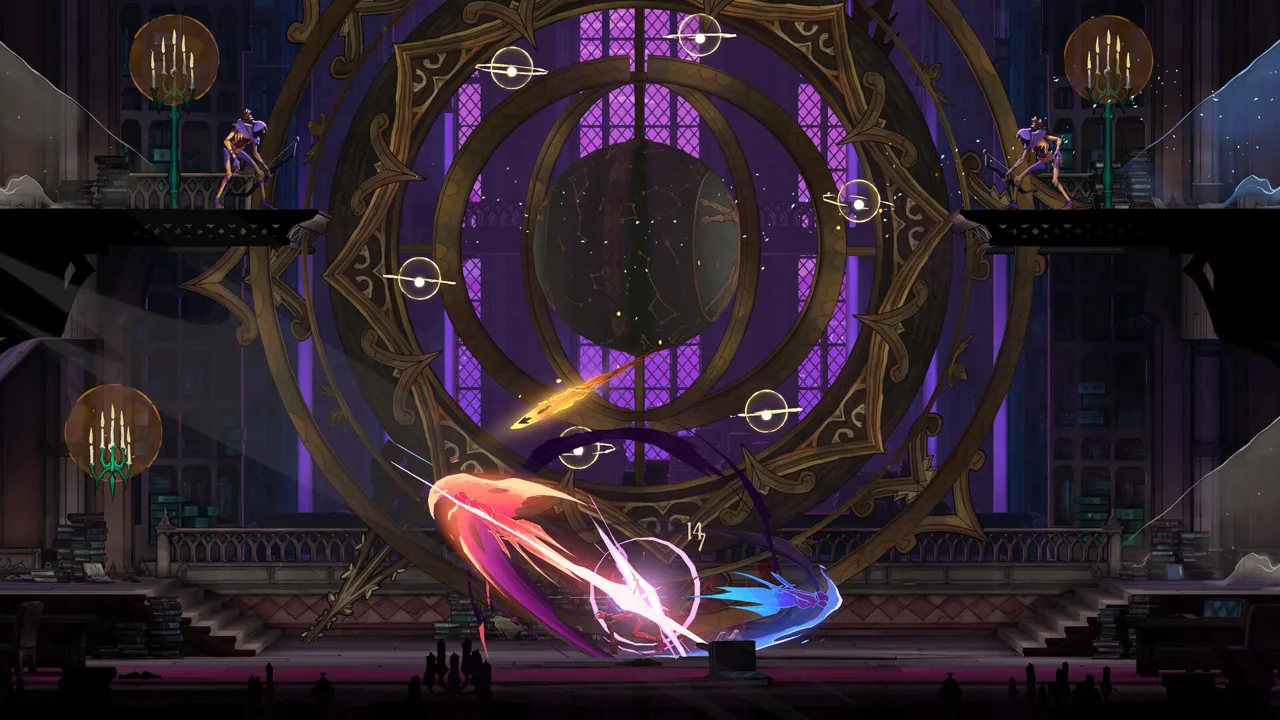 Image: Steam / KONAMI
You do not need to wait for the game's later hint to try this interaction.
Enter the Hall of Mirrors
Follow these steps at a Mirror of Life you have activated:
- Position Rose directly in front of the mirror.
- Hold down to crouch.
- Remain crouched for a few seconds until the transportation animation begins.
- In the Hall of Mirrors, inspect the available mirrors and read their destination descriptions.
- Crouch before the mirror connected to the save room you want to reach.
On a directional pad, the input is down. The important part is maintaining the crouch briefly; simply passing the mirror or resting there does not perform the same action.
The Hall of Mirrors is arranged into multiple floors associated with different regions. Your current floor gives access to the discovered save rooms for that region.
| Hall of Mirrors feature | How it works |
|---|---|
| Entry | Crouch before an activated Mirror of Life |
| Available destinations | Mirror of Life rooms you have already visited |
| Destination selection | Read a mirror's description, then crouch before it |
| Regional layout | Different floors correspond to different regions |
| Early travel restriction | You cannot move between regional floors until late in the game |
That regional restriction explains why Castlevania: Belmont's Curse fast travel still has a use for the Ferryman after you learn the mirror trick. The two systems cover different parts of your journey.
For a return trip across regions, travel through a wharf first. Once you reach the destination region, use its Mirrors of Life to shorten the remaining route.
Understand the Later Hint
Eleanor, the queen trapped in the One-Way Mirror in the Main Hall, hints at the crouching interaction by demanding that Rose kneel.
Her mirror is tied to a separate side quest. Kneeling before Eleanor does not free her, and meeting her is not required to learn the ordinary Mirror of Life travel input.
Try the interaction at a save mirror instead. That is the entrance to the transportation network.
Use Both Networks When Returning for Collectibles
The practical value of Castlevania: Belmont's Curse fast travel grows when you start revisiting places that contained unreachable items. A nearby save room can cut out a long stretch of familiar corridors, while a wharf handles the journey back to that region.
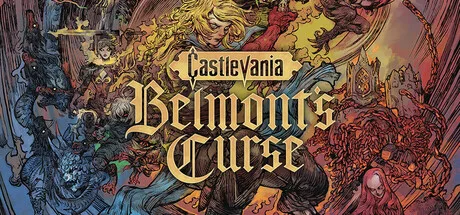 Image: Steam / KONAMI
Mark Items Before Leaving
Brave heart fragments and wise heart fragments appear inside nest-like structures. Some require additional exploration or abilities before you can reach them.
Mark these locations on your map when you spot them. Collecting four brave heart fragments increases Rose's health, while four wise heart fragments increases her magic.
Build your return route around those markers:
- Choose the region containing the item you want.
- Use a Ferryman's Wharf if you need to change regions.
- Reach an available Mirror of Life in that region.
- Travel to the discovered save room nearest your marked objective.
- Walk the remaining route and check the obstacle with your newer abilities.
Fast travel handles the distance. You still need the appropriate traversal options to reach the collectible itself.
Separate Travel From Resting
Mirrors also affect your supplies and the enemies along your route. Resting at a Mirror of Life refills Rose's base stock of three health potions, but it also causes most defeated enemies to respawn.
Temporary extra potions behave differently. Enemies and broken lanterns can drop these additional heals, but they disappear when you rest instead of becoming permanent refills.
Use those temporary potions during exploration when you need healing. Before resting, remember that their extra supply will not carry forward as part of your normal potion stock.
Keep the distinction clear: crouching accesses mirror travel; resting restores supplies and resets most enemies. Plan your rest stops around the fighting you expect after arrival.
Account for Enemies That Keep Appearing
Ghost skulls and Medusa heads can spawn continuously. Clearing a corridor of them does not make it permanently safe, even before your next rest.
Treat them as moving hazards while traveling to your destination. They also do not provide an XP farming opportunity: enemies that give experience drop yellow orbs.
Keep moving toward the wharf or mirror rather than trying to empty a passage that continually produces these enemies.
Why Fast Travel Seems Unavailable
When Castlevania: Belmont's Curse fast travel feels limited, check the interaction and destination requirements before retracing the entire map.
A missing mirror destination usually means you have not visited that save room. A missing route between regions can be a consequence of the Hall of Mirrors' floor restrictions.
| What you are trying to do | What to check |
|---|---|
| Enter the Hall of Mirrors | Stand before a Mirror of Life and hold the crouch input for a few seconds |
| Reach an unfamiliar save room | Visit that Mirror of Life before trying to travel there |
| Move between regional mirror floors | Use the Ferryman while those floors remain separated |
| Find a wharf entrance | Look for a glowing blue door and the map's blue lantern icon |
| Unlock the Ferryman | Continue through the Catacombs and the initial Death encounter |
| Travel through the ferry network | Start at a Ferryman's Wharf and use its altar |
Do not spend time searching the pause menu for the mirror interaction. Its entrance is the mirror in the world, and its destination selection happens inside the Hall of Mirrors.
Likewise, reaching a region does not replace finding its individual save rooms. Explore side passages and activate Mirrors of Life as you encounter them to give yourself more return points.
Once you understand that division, planning a trip becomes straightforward: choose the region, reach it through the ferry network when necessary, then use discovered mirrors to get closer to your objective.
FAQ
How does Castlevania: Belmont's Curse fast travel work?
There are two systems. The Ferryman connects available wharfs across regions, while crouching before a Mirror of Life takes Rose to the Hall of Mirrors. From there, crouch before another available mirror to reach its save room.
Where do you first meet the Ferryman?
You meet him in the Catacombs of Paris after the initial encounter with Death. Climb the Collapsed Path of Orpheus, take the right exit from the room with three skull pyres, and enter the glowing blue door.
Do you need to meet Eleanor before using mirror travel?
No. You can use the crouching interaction without receiving Eleanor's hint. Stand in front of an activated Mirror of Life and hold down for a few seconds to enter the Hall of Mirrors.
Can Mirrors of Life take you to another region?
The Hall of Mirrors has separate regional floors, and movement between them remains restricted until late in the game. Use the Ferryman for trips between regions during that restriction, then use mirrors to reach discovered save rooms within your destination region.
Continue with
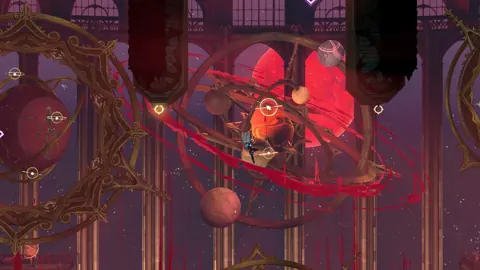 Castlevania: Belmont's Curse Fountain of the Lost ChestOpen Castlevania: Belmont's Curse fountain of the lost chest by clearing four linked challenges, then use the fountain shortcut to explore the cemetery.
More in Maps
Castlevania: Belmont's Curse Catacombs Walkthrough
Use this Castlevania: Belmont's Curse catacombs walkthrough to open the gate, follow Death Mark, collect weapons and Relics, and reach the Ferryman safely.
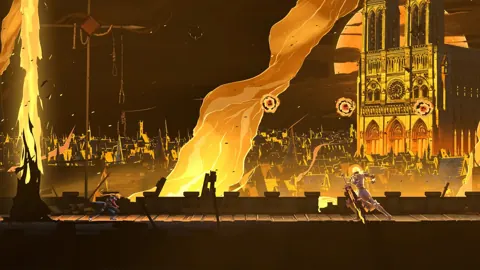
Castlevania: Belmont's Curse Map: Routes and Secrets
Navigate the Castlevania: Belmont's Curse map with the main progression route, movement upgrades, mirror fast travel, and tips for finding hidden rewards.
Join the community
Official channels for news, updates and player help: