
Castlevania: Belmont's Curse Death Fight: Boss Guide
Win the Castlevania: Belmont's Curse death fight with scythe dodge tips, energy grid tactics, Phase 2 counters, and a breakdown of the rewards you unlock.
Jump to
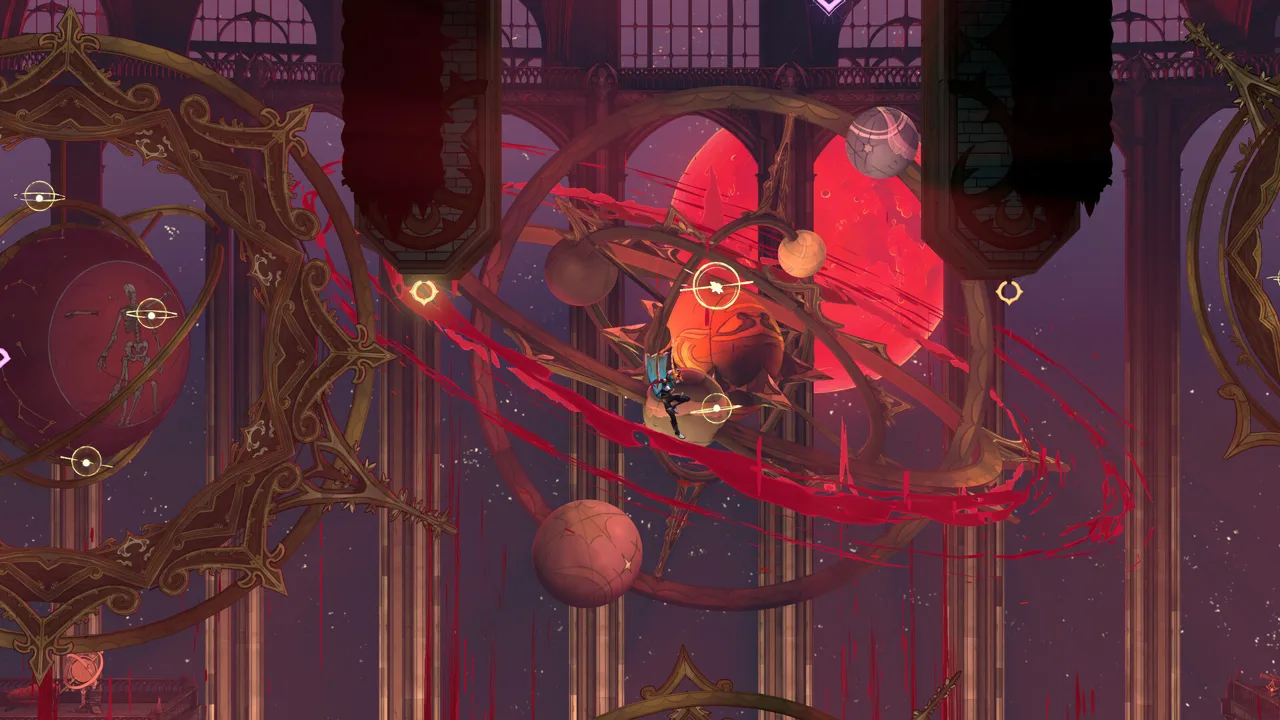
How to Beat Death: Preparation and Core Strategy
The Castlevania: Belmont's Curse death fight punishes you for watching Rose when you should be watching the scythe. Recognizing Death’s wind-up gives you time to dodge, while spotting his glowing green hand can save almost your entire health bar. To win the Castlevania: Belmont's Curse death fight, stay close during ordinary melee exchanges, escape his grab immediately, and use the arena’s vertical space during energy attacks.
Your basic rhythm is straightforward: attack during an opening, watch Death’s next animation, evade, and counterattack after the danger passes. Once his health drops, extend that defensive rhythm to account for follow-up attacks and spinning bones.
Open the Notre-Dame Boss Arena
Death waits beyond the light barriers in Notre-Dame’s Transept. To reach him:
- Collect all three Notre-Dame Melody Sheets.
- Play Fugue, Sonata, and Concerto on the Giant Organ.
- Return to the Transept after the barriers disappear.
- Enter Death’s arena.
Prepare Your Equipment
Build around attacks you can use comfortably while watching Death’s movements. Holy Cross helps clear projectiles, while Joan’s fire attacks provide another way to damage the boss.
| Equipment or ability | What it contributes | How to use it |
|---|---|---|
| Holy Cross | Can destroy incoming projectiles | Throw it toward approaching hazards while maintaining distance |
| Relic that increases damage after casting a spell | Adds damage following spell use | Follow your spell with attacks during a safe opening |
| Joan’s fire attacks | Deal damage and apply a burn | Cast when Death is exposed |
| Arcane Whip | Lets Rose latch onto airborne Death | Close the distance when surrounding hazards allow it |
For the Castlevania: Belmont's Curse death fight, make room to react before committing to another attack. Keep the sound audible, too: audio cues can help you recognize an incoming move alongside the scythe animation.
Official page: Castlevania: Belmont's Curse (konami.com)
Phase 1: Read the Scythe and Escape the Grab
During the opening half, Death gives you repeated opportunities to learn his melee timing. Stay close enough to punish his recovery, but keep watching both his weapon and his free hand.
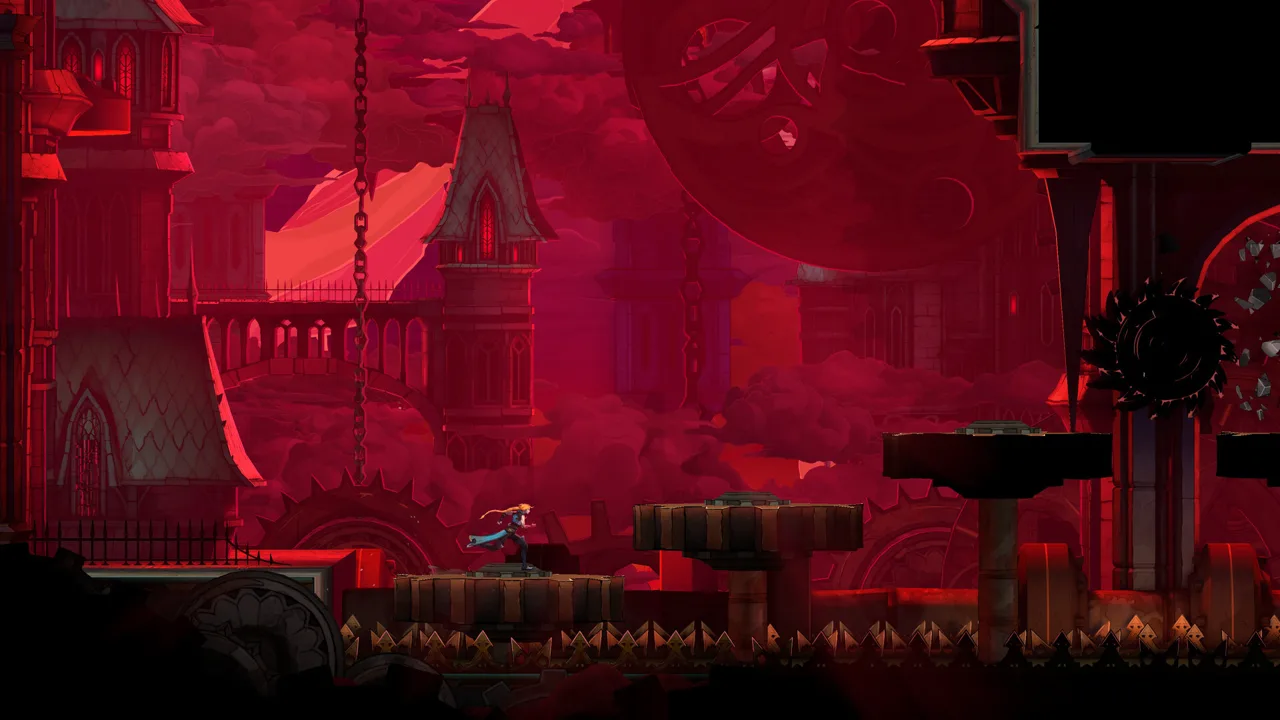 Image: Steam / KONAMI
The scythe tells you when to evade. The green hand tells you when to leave.
| Attack | Tell | Counter |
|---|---|---|
| Scythe sweep | Death winds up his weapon | Slide beneath the swing, then turn back to attack |
| Health-draining grab | His hand glows green | Stop attacking and slide out of reach |
| Energy grid | Death disappears after his voice cue; beam paths flash | Move toward the central platforms and grapple through safe gaps |
| Homing projectiles | Death hovers and briefly flashes | Draw them toward a wall, then wall-jump and escape underneath |
Slide Through the Scythe Opening
Death’s opening-phase scythe sweeps pass above the floor. Watch the wind-up, slide underneath the incoming swing, and turn toward him once it passes.
Use that recovery for a brief counterattack. Then return your attention to his animation. Repeating this exchange keeps your movement manageable and gives you a clear reason to attack.
Avoid retreating across the entire arena after every sweep. Stay nearby when it is safe so you can reach Death during his recovery.
Break Off Immediately for the Green Hand
The grab is especially dangerous because it can drain nearly an entire health bar. When Death’s hand turns green, interrupt your offense and slide away.
Do not squeeze in another hit before leaving. Wait outside his reach until the grab finishes, then move back into attacking distance.
This distinction matters throughout the Castlevania: Belmont's Curse death fight: a scythe wind-up can lead into a close-range counterattack, while the glowing hand demands separation. Learn to recognize those two signals before trying to increase your damage.
Energy Grid and Homing Projectiles: Use the Arena
Death’s ranged sequences require a different movement pattern from his melee attacks. Platforms, purple whip grapple points, and the arena walls all become useful, but each serves a different purpose.
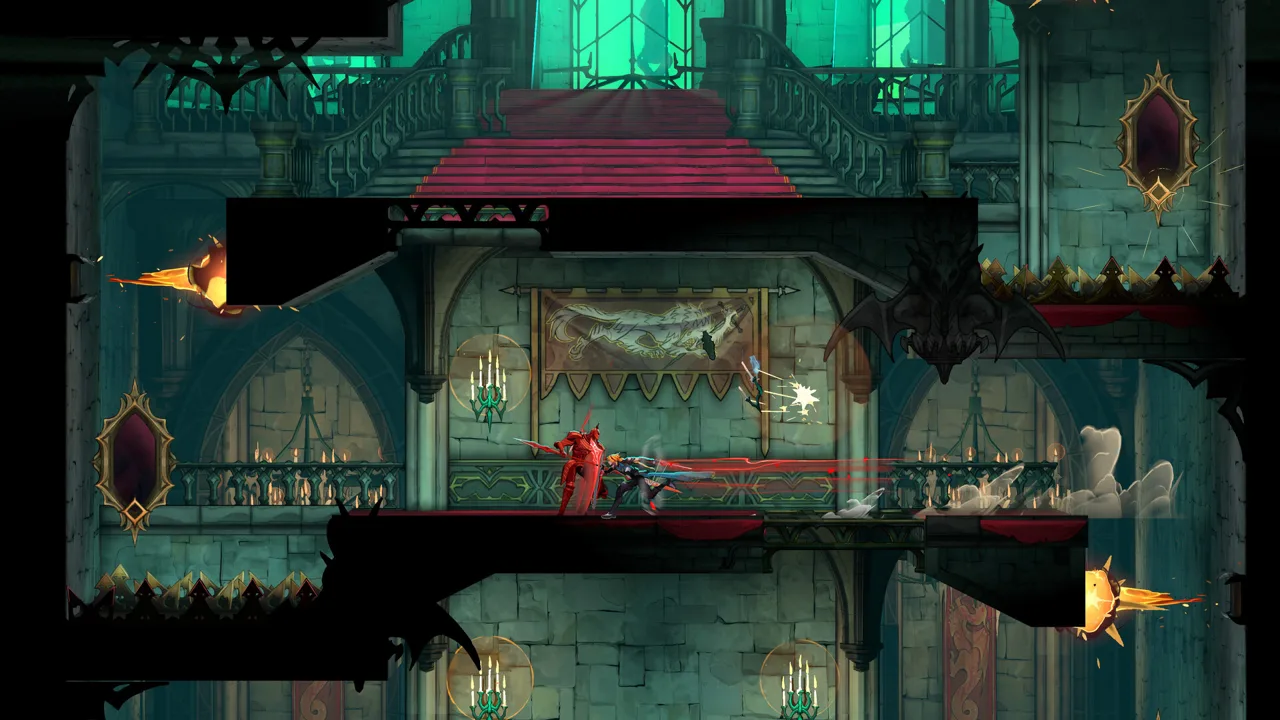 Image: Steam / KONAMI
Keep the middle available during the energy grid. Use the edge briefly to redirect homing projectiles.
Navigate the Energy Grid
When Death calls “Don’t Fall, Little Belmont,” he disappears and energy beams begin crossing the arena. Flashes reveal their paths before they strike. The patterns include horizontal, vertical, and diagonal beams.
React to the flashes instead of moving blindly:
- Position near the central platforms as the sequence begins.
- Use a purple whip grapple point to gain height when the first warning appears.
- Move into the spaces between the marked beam paths.
- Use jumps and air dashes to adjust as more beams follow.
- Watch for Death’s return and prepare to evade his scythe.
The central platforms help you change height without trapping yourself against a wall. Keep looking for the next opening rather than trying to hold one position throughout the sequence.
Later repetitions add more beams. Give yourself room to move between the middle and nearby platforms, and avoid spending your escape options just to reach an unnecessary position.
Redirect Homing Projectiles at the Wall
Death’s homing projectiles start slowly, then accelerate as they chase Rose. More arrive as the attack continues.
Move toward an arena edge to pull them in one direction. Wall-jump above them, then slide along the ground in the opposite direction. That change of direction helps you escape beneath the pursuing wave.
Holy Cross can also destroy these projectiles. Throw it toward the incoming hazards while continuing your escape; keep watching for anything that gets through.
Watch the Transition Back to Melee
Surviving the ranged attack does not end the danger. Death can reappear and swing his scythe immediately after the energy grid. Later in the fight, he also changes position while you are still handling projectiles.
In the Castlevania: Belmont's Curse death fight, bring your attention back to Death as soon as an escape route opens. Leave the wall when you can, locate his next position, and prepare for the wind-up.
Phase 2: Clear Bones and Respect Follow-Ups
At roughly half health, Death expands his attacks. Spinning bones create extra obstacles, scythe sequences gain follow-ups, and more frequent repositioning makes the arena harder to track.
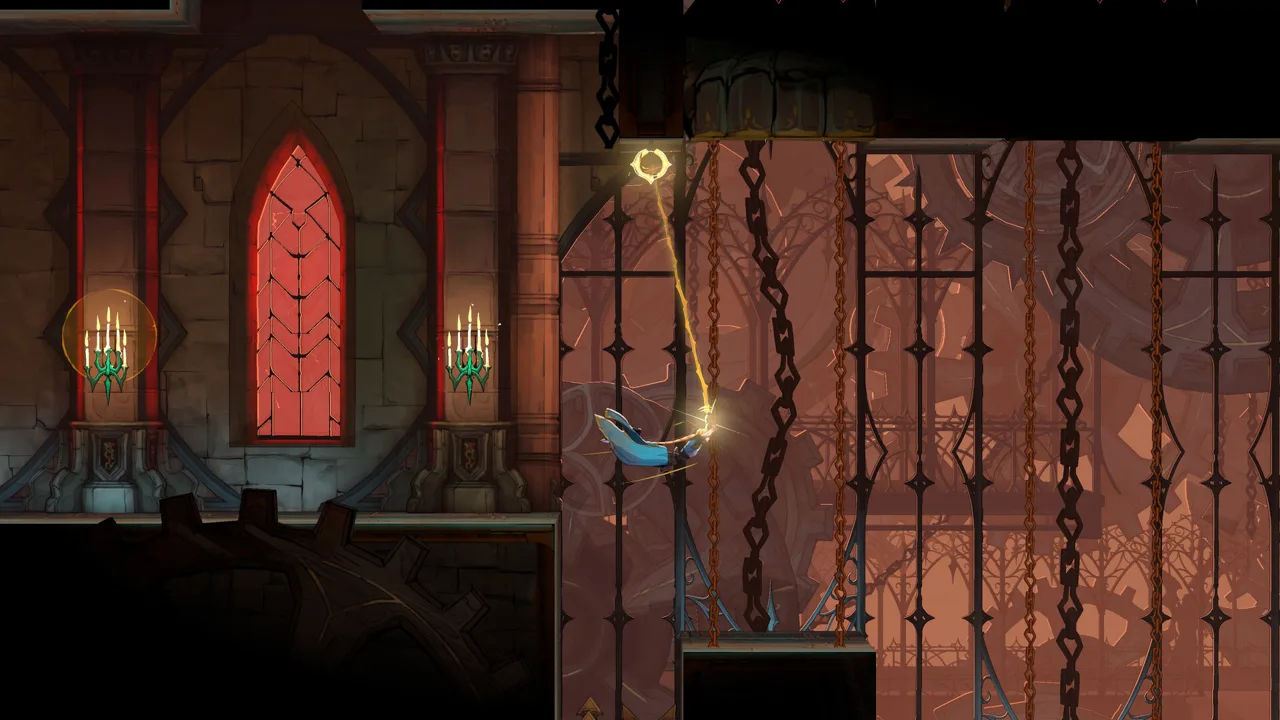 Image: Steam / KONAMI
Keep using the melee rhythm from Phase 1, but check the space around Rose before sliding into it.
| Phase 2 threat | Response |
|---|---|
| Spinning bone projectile | Destroy it with a single hit if it blocks your route |
| Second attack with a low beam | Jump over the beam before counterattacking |
| Large scythe projectile at head height | Slide beneath it |
| Repositioning after homing projectiles | Locate Death and prepare for another scythe swing |
| Denser energy patterns | Keep changing position through the available gaps |
Remove Bones That Block Your Escape
The floating, spinning bones can interfere with an otherwise clean dodge. Each can be destroyed with a single hit.
Strike a bone when it occupies the route you need, then refocus on Death. Avoid chasing one across the arena while his main scythe attack is developing.
This also gives you a practical priority when several hazards overlap: clear the obstruction that prevents your next dodge, evade Death, and attack during his recovery.
Read the Height of Each Follow-Up
Phase 2 adds attacks that require different responses. A low beam following a scythe attack needs a jump. The large scythe projectile traveling around Rose’s head height can be avoided with a slide.
Wait long enough to identify the follow-up before retaliating. Landing a clean dodge against the opening swing does not make the entire sequence safe.
Watch the projectile’s height as well as Death’s weapon. Jumping into a head-height attack or sliding into a floor-level beam turns the correct reaction to one move into the wrong reaction to another.
Keep Damage Windows Short and Clear
For the later Castlevania: Belmont's Curse death fight, use recovery animations as your cue to attack. Clear obstructing bones, evade the full sequence, and then move in.
Joan’s fire attacks can deal damage and leave a burn. Holy Cross remains useful when incoming projectiles compete for your attention. Use those abilities where their effects help with the situation in front of you.
When Death hovers above the floor, the Arcane Whip can bring you to him for a hit. Check the surrounding hazards before closing the gap, especially if homing projectiles are still moving through the arena.
As his health gets low, continue handling projectile waves patiently. Draw them toward an edge, clear them with Holy Cross when possible, and stay ready for Death to appear elsewhere. Keep following the same attack cues through the final exchanges.
Death Rewards: Soul Harvest, Vampire Killer, and Double Jump
Winning the Castlevania: Belmont's Curse death fight brings major rewards, including a new spell and Trevor’s legendary whip.
Death is an exception to the usual boss-sealing process: Rose cannot seal him inside his Tarot card. She can still absorb the energy he leaves behind.
| Reward | What you receive |
|---|---|
| Boss-fight trophy or achievement | Recognition for defeating Death |
| Soul Harvest | A spell for The Shadow Arcana |
| Vampire Killer | Trevor’s whip, with an attack rating of 100 |
| Double Jump | A new movement ability unlocked afterward |
Soul Harvest
Soul Harvest delivers a slow, powerful scythe strike. When it kills an enemy, four additional sickles fly outward.
Use it against groups where a finishing blow can trigger those extra projectiles. Account for the slow strike when choosing your opening.
Vampire Killer
After the fight, Rose meets the badly wounded Trevor Belmont and receives the Vampire Killer following the cutscene.
The whip has an attack rating of 100, with additional damage at its tip. Its hits set enemies ablaze, and defeated enemies can explode in flames. Aim to connect with the tip to take advantage of its extra damage.
Double Jump also unlocks afterward, adding another movement option as you continue exploring.
FAQ
What is the main strategy for the Castlevania: Belmont's Curse death fight?
Stay close during melee exchanges, slide beneath scythe sweeps, and counterattack during recovery. Retreat immediately when Death’s hand glows green. Use platforms and grapple points to navigate the energy grid.
How do you avoid Death’s energy beams?
Watch the flashes that mark their paths. Move through the gaps using the central platforms, purple whip grapple points, jumps, and air dashes. Prepare for a scythe attack when Death reappears.
Can you destroy Death’s spinning bones and homing projectiles?
Spinning bones break with a single hit. Homing projectiles can also be destroyed, and Holy Cross is useful for clearing them while you move away.
What do you unlock after beating Death?
The rewards include Soul Harvest for The Shadow Arcana, the Vampire Killer whip, Double Jump, and the corresponding boss-fight trophy or achievement. The Vampire Killer arrives after the post-fight scene with Trevor.
Continue with
Castlevania: Belmont's Curse Mammon Boss Fight GuideBeat Castlevania: Belmont's Curse Mammon with counters for gold goo, stomps, lasers, and falling debris. Learn both phases and find openings to attack.More in Bosses
Castlevania: Belmont's Curse Bosses: Combat Strategies
Master Castlevania: Belmont's Curse bosses with attack counters, Arcana tips, and strategies for The Fallen, Joan, Medusa, Isaac, Carmilla, and Death.
Castlevania: Belmont's Curse Joan Fight: Boss Guide
Win the Castlevania: Belmont's Curse Joan fight with sword counters, fire-rain dodges, and whip-anchor timing. Learn both phases and every boss reward.
Castlevania: Belmont's Curse Medusa Boss Fight Guide
Beat the Castlevania: Belmont's Curse Medusa fight with the fountain route, gaze counters, rock cover strategy, and tips for claiming the Prophetess' Key.
Join the community
Official channels for news, updates and player help: