
Castlevania: Belmont's Curse Difficulty: How to Adjust
Castlevania: Belmont's Curse difficulty explained: adjust Custom Mode, handle early combat, tackle Builder's chase, and learn when to dodge boss attacks.
Jump to
How Hard Is Castlevania: Belmont's Curse?
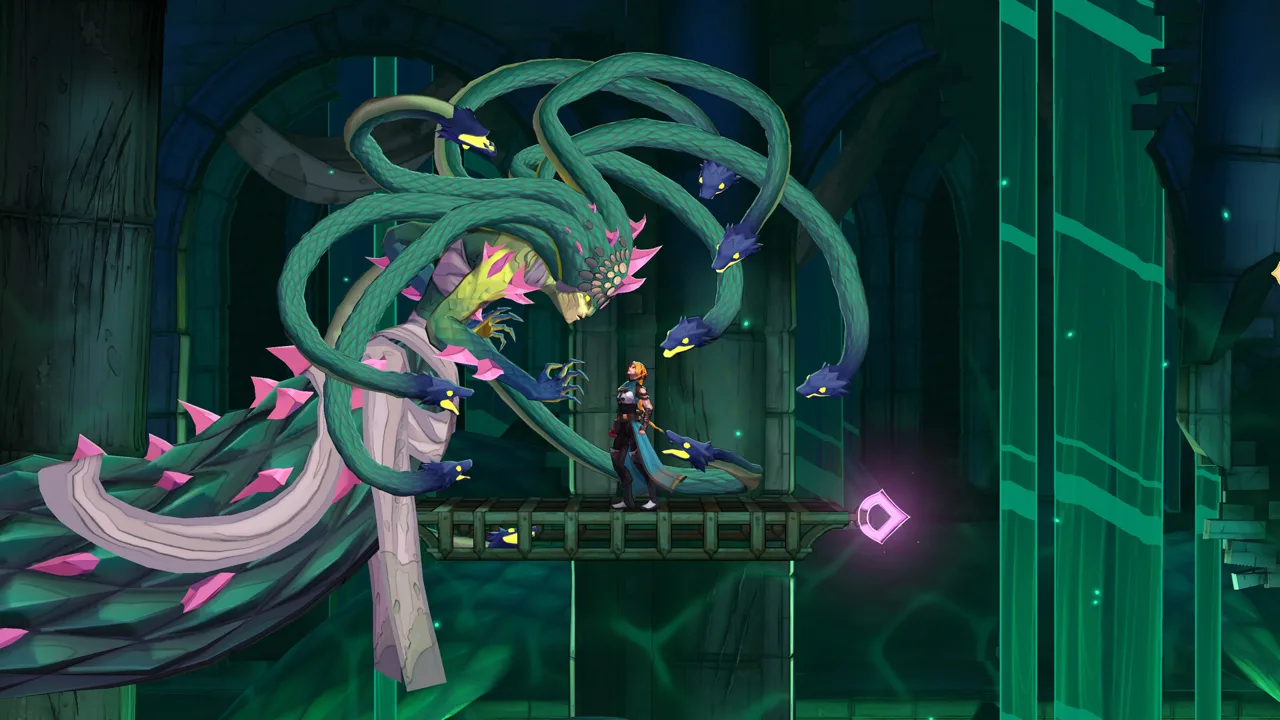
Castlevania: Belmont's Curse difficulty can make an early stretch of Paris feel tougher than the bosses waiting much later. Learning when to evade—and which settings reduce repeated frustration—helps you get past those walls without spending every attempt retracing your steps. Understanding Castlevania: Belmont's Curse difficulty also means recognizing its uneven curve: demanding opening encounters, sharp platforming spikes, and powerful late-game equipment that can make combat considerably easier.
Rose begins with a sword and a limited arsenal. You gradually collect weapons, Relics, and Arcana abilities, expanding both your combat options and your movement. That growth matters because the opening hours ask you to survive heavy damage before you have your full toolkit.
The challenge also changes depending on what stops you. A boss combo rewards timing and positioning. A timed obstacle course demands a clean route. Custom Mode gives you substantial control over damage and retries, but platforming still requires learning the obstacles.
| Part of the game | What creates difficulty | What changes your approach |
|---|---|---|
| Early exploration | Limited equipment, heavy enemy damage, and attacks that track your movement | Delay evasions and adjust damage settings if needed |
| Gauntlets and timed sections | Water hazards, repeated routes, pistons, and collapsing platforms | Learn obstacle sequences and separate traversal mistakes from combat mistakes |
| Late-game combat | Strong equipment combinations can sharply reduce the challenge | Combine defensive effects, mana generation, and shielding |
The difficulty curve is especially uneven on PC: the early and middle portions can be punishing, while certain late-game combinations make even optional bosses much easier. Judge your progress by the obstacle in front of you rather than assuming every later encounter will be harder.
Official page: Castlevania: Belmont's Curse (konami.com)
How to Change Difficulty With Custom Mode
Castlevania: Belmont's Curse difficulty adjustments live in Custom Mode, rather than a conventional selection of Easy, Normal, and Hard presets. You can enable or disable it during your playthrough.
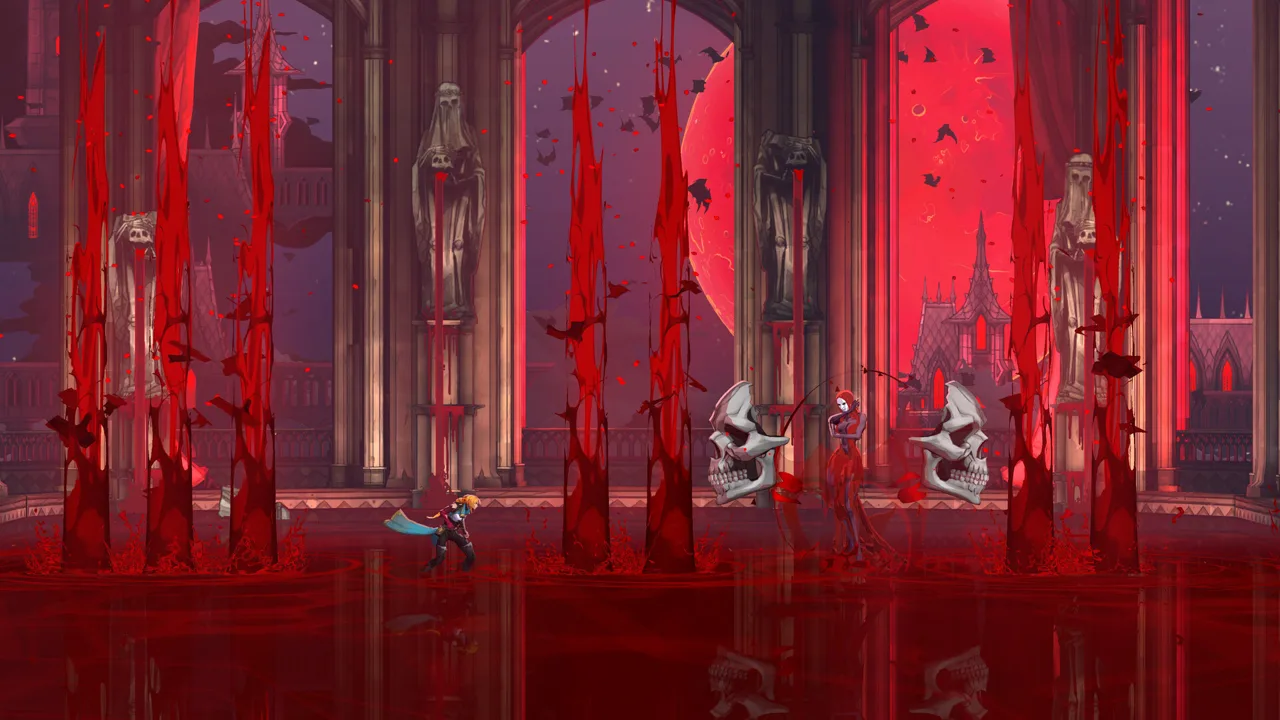 Image: Steam / KONAMI
To open the controls:
- Pause the game.
- Open Settings.
- Select Gameplay.
- Check Enable Custom Mode.
- Adjust the individual options to address what is stopping you.
The game displays a warning that these changes can affect the intended experience. Custom Mode does not disable trophies or achievements, so you can use its accessibility and balance options while continuing to earn them.
| Custom Mode option | What it changes |
|---|---|
| Allow Respawn In Front Of Boss Doors | Gives you the option to respawn outside a boss door after defeat |
| Damage Dealt | Increases your damage up to five times, or lets you decrease it |
| Maximum Number Of Potions | Adjusts potion capacity up to five |
| Prevent Death | Prevents Rose from being killed |
| Damage Received From Enemies | Raises or lowers damage from enemies and bosses |
| Damage Received From Traps | Raises or lowers damage from environmental hazards |
| Experience Gained | Increases experience earned up to three times |
Adjust the Setting That Matches the Problem
Enable boss-door respawns when repeated runbacks are wearing you down. This keeps your attention on learning the fight and removes the need to replay the approach after each defeat.
Increase potion capacity if you understand an encounter but need more room for mistakes. Rose normally has three potions; Custom Mode lets you raise that limit to five. Remember that this setting changes capacity, so read it as an inventory limit.
Lower enemy damage when ordinary encounters drain too much health before you reach your destination. Lower trap damage when environmental hits are the recurring problem. Keeping those controls separate lets you preserve challenging combat while softening hazardous traversal, or do the reverse.
Increase damage dealt if long fights are exhausting your concentration. Increase experience gained if you want faster leveling. For Castlevania: Belmont's Curse difficulty tuning, change one setting at a time so you can judge whether the adjustment solves the problem.
Surviving Early Combat and Platforming Spikes
The opening hours punish evasions made too early, making timing a key part of Castlevania: Belmont's Curse difficulty. Some enemies continue adjusting their aim during their attack animation, so jumping immediately when you notice a windup can put you directly into the projectile’s path.
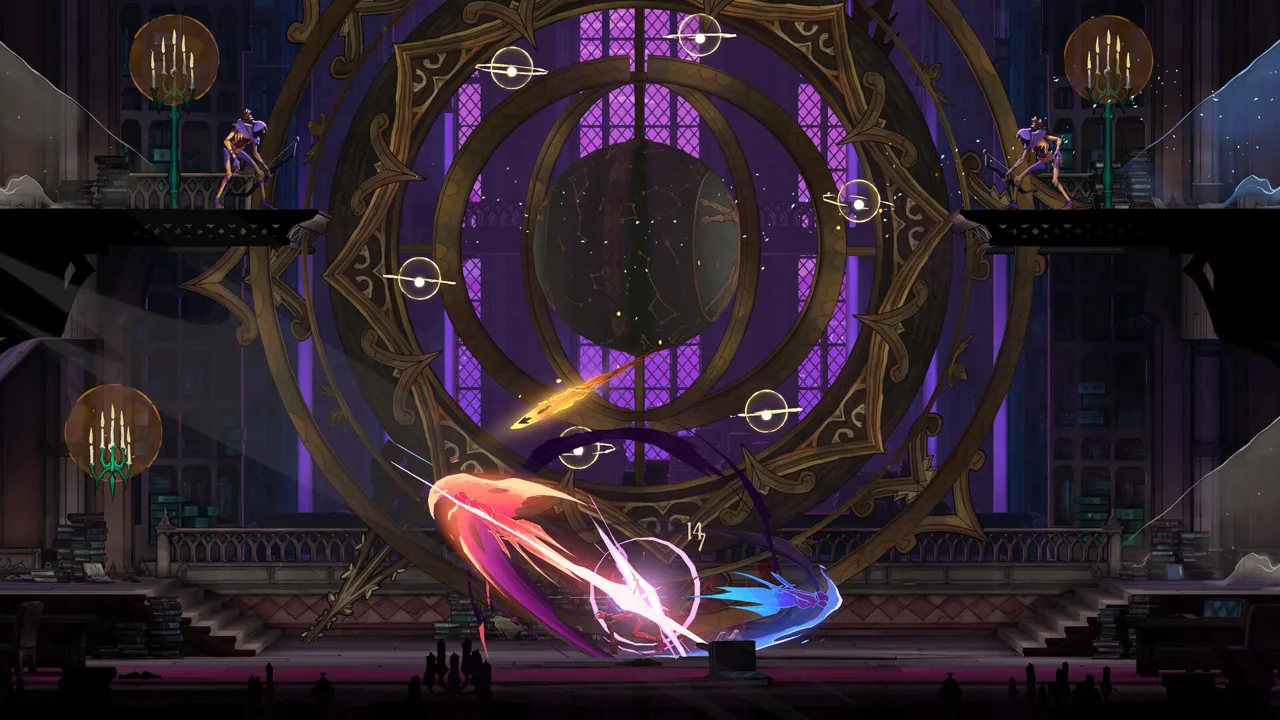 Image: Steam / KONAMI
Against Sahagins, delay your jump or slide until the attack actually fires. Watch the release rather than treating the beginning of the animation as your cue. An early read still helps—you just need to hold your response until the enemy commits.
The Light Shield functions as a parry against most attacks. Practice its timing alongside your movement options, particularly when jumping away keeps getting you hit. Avoid trying to solve every encounter with the same defensive response.
| Obstacle | What makes it demanding | What to practice |
|---|---|---|
| Sahagin attacks | Their aim can follow you during the windup | Evade when the attack fires |
| Ruined waterways and bridges | Heavy hits combine with water hazards that reset your position | Time evasions with your landing space in mind |
| The Builder’s return chase | A 90-second timer overlaps with pistons, spike pits, and collapsing platforms | Learn the route in the return direction |
Handle the Waterway Gauntlet Deliberately
The route toward Dracula’s Castle includes ruined bridges and waterways, with enemies capable of removing a substantial portion of your health. Falling into water resets your position, and failing the encounter at the end sends you back through the gauntlet.
Before jumping past an enemy, check where you will land. Delay your response to tracking attacks, and avoid committing to a leap simply because an enemy has started moving.
Use the trap and enemy damage controls independently if this section becomes a wall. Reducing one type of damage can help you identify which mistakes are actually ending your attempts.
Learn the Builder’s Chase as Its Own Challenge
The Builder’s encounter alternates combat with pursuit. You chase him through narrow passages containing pistons, spike pits, and collapsing platforms. A later chase reverses the route and gives you 90 seconds to get through.
Treat the return journey as a separate sequence to learn. Familiarity with the forward route does not automatically give you the timing for moving backward through it.
Focus on where side pistons enter your path and which platforms force you to keep moving. During each attempt, identify the obstacle that breaks your rhythm, then concentrate on that transition the next time through.
Custom Mode can reduce trap damage, but that adjustment does not change the route or remove the need to navigate it. Keep the timer in mind even with death prevention enabled; do not build your strategy around it completing the chase for you.
How to Beat the Fallen With Better Timing
The Fallen is a useful lesson in Castlevania: Belmont's Curse difficulty because the fight becomes more manageable once you recognize where his attacks end. His triple combo, projectile throw, aerial attack, and whip strike each call for a different response.
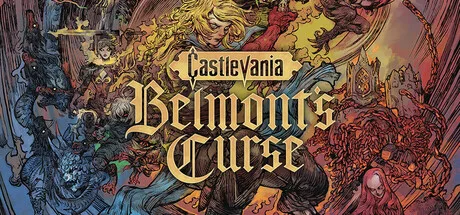 Image: Steam / KONAMI
Resist the urge to attack through every opening movement. Several of his strongest punish opportunities arrive after he finishes a sequence.
| Attack | What to watch for | Response |
|---|---|---|
| Projectile throw | The incoming thrown attack | Jump over it or destroy it with your sword or magic |
| Triple-hit combo | A fully drawn-back opening swing, followed by two more attacks | Slide through the opening, account for the follow-ups, then punish |
| Rising swing into a slam | The upward swing before the downward attack | Slide underneath and avoid getting trapped in a corner |
| Aerial attack | The Fallen leaving the ground | Interrupt him with a sword hit or magic before he connects |
| Whip attack | The whip windup | Dodge forward into the attack |
Respect All Three Combo Hits
Slide through the opening swing when the Fallen is fully drawn back. Then watch the second attack before deciding where to move next.
His third swing responds to your position after the second. Moving behind him does not end the sequence: he can turn around for the follow-up. Stay ready to evade again before committing to damage.
You can also retreat and space the combo, but give the final hit plenty of room. Its reach makes a narrowly judged retreat risky. Once the third swing finishes, use the recovery window to attack.
Turn Interruptions Into Recovery Time
Destroy the thrown projectile with your sword or magic when you can time it reliably. Jumping over it is another option, particularly while you are still learning its approach.
Interrupt the aerial attack early. Both sword attacks and magic can knock the Fallen out of the air, creating an opening. Late attempts can leave you taking damage instead.
Use that interruption window to heal when needed. Avoid spending the entire opening on an extra spell if it leaves you exposed to the next ranged attack. Choose recovery or damage deliberately, then prepare for his next windup.
Why Late-Game Combat Can Feel Much Easier
Castlevania: Belmont's Curse difficulty changes substantially as your equipment expands. Weapons cover seven categories, Relics provide offensive and defensive effects, and defeated bosses become Arcana that grant spells and special actions.
On PC, a late-game sword-and-shield weapon can deliver substantial damage while moving Rose to the opposite side of an enemy with each swing. Combined with damage-reducing Relics, increased mana generation, and a Tarot spell that provides a two-hit shield, that setup can make late encounters far less threatening.
Build around effects that support each other:
- Pair defensive Relics with shielding when surviving hits is the priority.
- Combine increased mana generation with the protective spell.
- Use the late-game weapon’s repositioning effect as part of your attack rhythm.
- Revisit Custom Mode settings if stronger equipment has made combat easier than you want.
Movement also develops over time. Double Jump comes from a late-game boss, while a late-game Tarot card provides a dash. Later platforming combines those abilities with whip swings, opening up more elaborate traversal.
Give yourself time to learn those combinations before rushing timed puzzles. Stronger combat equipment can simplify enemies, but precise movement still matters when you are chaining jumps, dashes, and swings.
FAQ
Does Castlevania: Belmont's Curse difficulty have an Easy mode?
There are no conventional difficulty presets. Enable Custom Mode under Settings → Gameplay to adjust damage, potion capacity, experience gains, boss-door respawns, and death prevention.
Does Custom Mode disable trophies or achievements?
No. Trophies and achievements remain available with Custom Mode enabled. You can also turn the mode on or off during your playthrough.
Can you make the Builder’s chase easier?
You can lower damage received from traps through Custom Mode. The chase still involves navigating pistons, spike pits, and collapsing platforms, including a return section with a 90-second timer. Practice the return route’s obstacle timing.
Why do enemies hit me after I jump away?
Some enemies track your movement during their windup. Against Sahagins, wait until the attack fires before jumping or sliding. Moving immediately when the animation begins gives them time to adjust their aim.
Continue with
 Castlevania: Belmont's Curse Reddit: Controls GuideCastlevania: Belmont's Curse reddit guide covering dodge timing, controller issues, Arcana cards, exploration, and what to check before buying. Get ready.
More in Guide
Castlevania: Belmont's Curse Achievements: Full Guide
Track Castlevania: Belmont's Curse achievements with the full trophy list, collectible goals, ending requirements, and a clear route to 100% completion.

Castlevania: Belmont's Curse Review: Worth Your Time?
Castlevania: Belmont's Curse review covering combat, exploration, tarot spells, difficulty, and performance. See if Rose Belmont's adventure suits you.
Castlevania: Belmont's Curse Shadow Work Achievement
Unlock the Castlevania: Belmont's Curse shadow work achievement by defeating the Self. Get combat tips, Custom Mode settings, and a cleanup checklist.
Castlevania: Belmont's Curse Tips: Beginner's Guide
Castlevania: Belmont's Curse tips to master combat, find hidden fast travel, upgrade Rose, and manage potions. Start exploring Paris with fewer setbacks.
Join the community
Official channels for news, updates and player help: