
Castlevania: Belmont's Curse Tips: Beginner's Guide
Castlevania: Belmont's Curse tips to master combat, find hidden fast travel, upgrade Rose, and manage potions. Start exploring Paris with fewer setbacks.
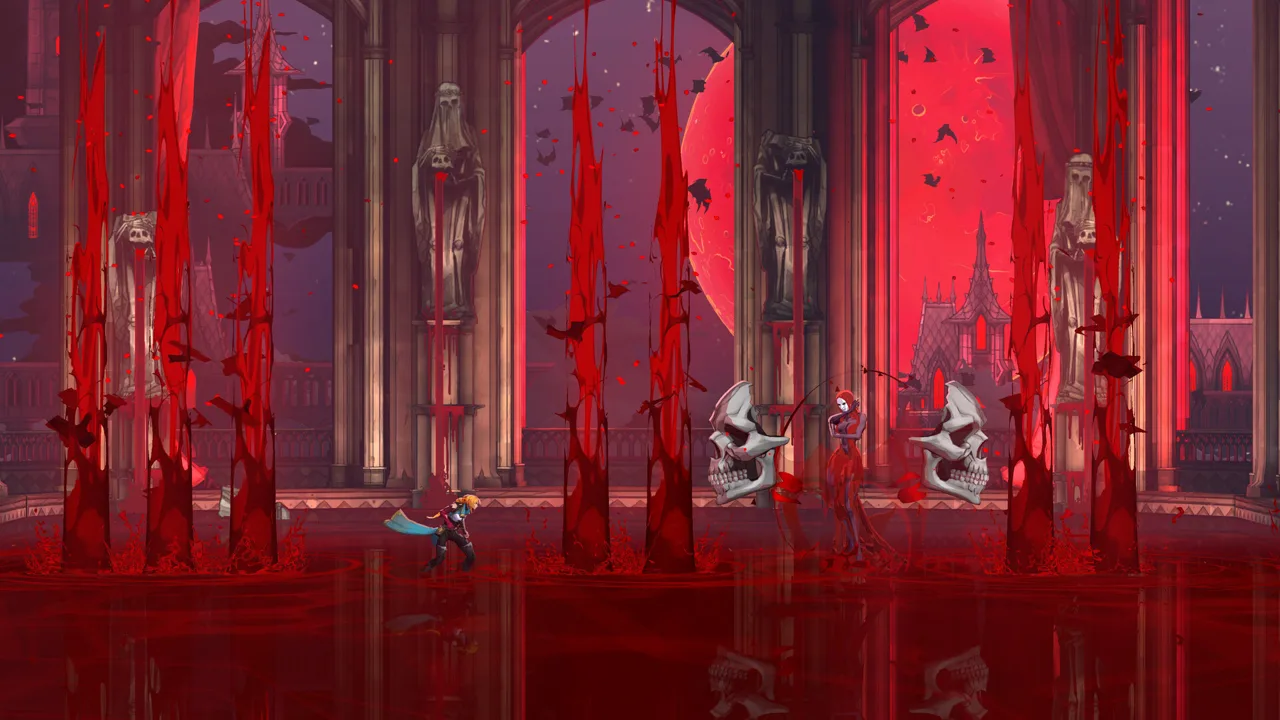
Paris is burning, and a missed mechanic can make Rose’s journey harder than it needs to be. These Castlevania: Belmont's Curse tips explain how to strengthen her, handle dangerous attacks, and revisit blocked paths without wandering aimlessly. Start with the Castlevania: Belmont's Curse tips below to uncover hidden fast travel, understand your upgrades, and stretch your healing supplies through the next boss fight.
Early Game: Set Up Your Controls and Visibility
1. Make dodging comfortable and enemies easier to read
Before pushing deeper into Paris, put these Castlevania: Belmont's Curse tips into practice by checking the control settings. With PlayStation button prompts, dodge/interact starts on Circle. Consider moving it to R1 or another shoulder button so you can dodge without moving your thumb away from the face buttons.
Then open the accessibility settings. Lower screen shake if impacts make attacks difficult to follow, and enable high readability to outline Rose and her enemies. Choose different outline colors so you can distinguish Rose from nearby threats when the screen gets crowded.
Keep the outlines subtle enough that you can still read character animations. The goal is to spot an incoming attack quickly, especially when several enemies overlap.
2. Unlock Sonia Belmont’s costume from the main menu
For an early cosmetic extra, enter the Konami code at the main menu. With PlayStation button prompts, the sequence is:
Up, Up, Down, Down, Left, Right, Left, Right, X, Circle.
A notification announces that Sonia Belmont’s costume has unlocked. Enter the sequence before starting your adventure if you want the outfit available from the beginning.
This is a costume unlock, so keep your combat preparation focused on controls, equipment, and visibility.
Official page: Castlevania: Belmont's Curse (konami.com)
Character Growth: Understand What Actually Raises Your Stats
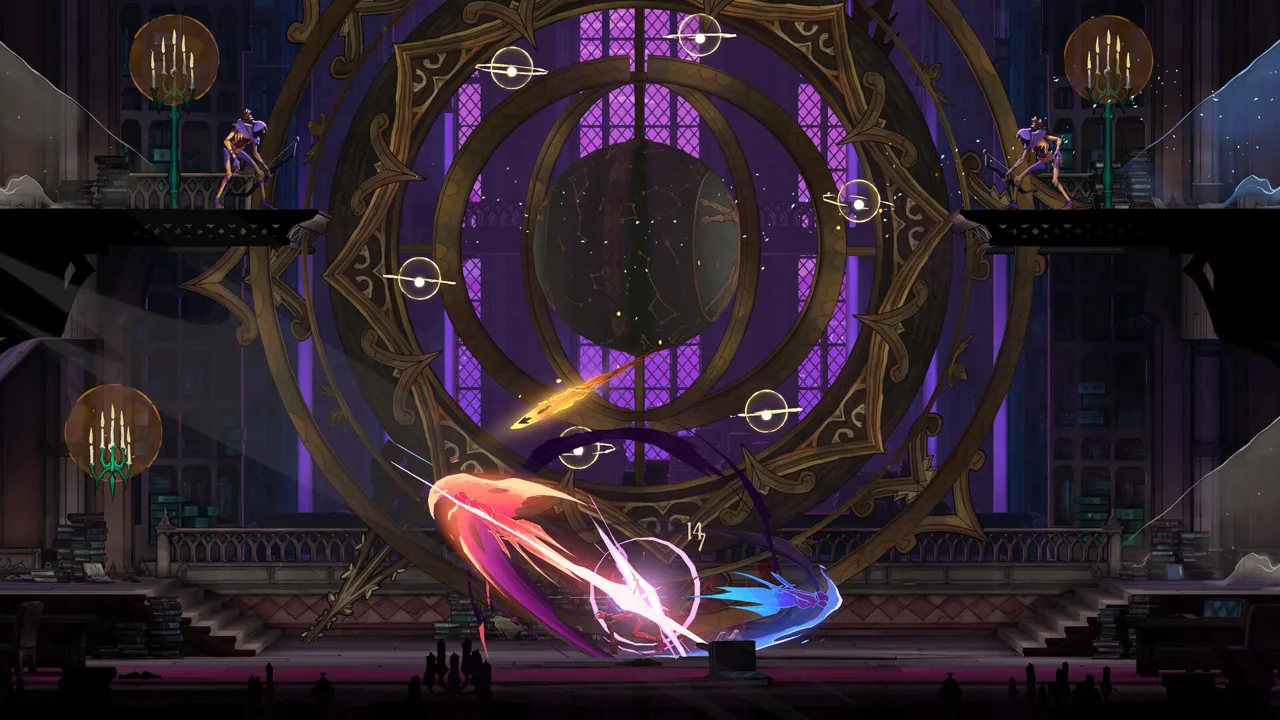 Image: Steam / KONAMI
3. Separate leveling from health and magic upgrades
One of the most useful Castlevania: Belmont's Curse tips is to stop treating every upgrade as part of the same system. Experience improves attack and defense, while health and magic require exploration collectibles.
Open the equipment tab to inspect Rose’s attack, defense, and experience meter. When that meter fills, she levels up and gains attack and defense.
| Upgrade | How to obtain it | What it improves |
|---|---|---|
| Level | Fill the experience meter | Attack and defense |
| Red book | Find it while exploring | Attack |
| Blue book | Find it while exploring | Defense |
| Four Brave Heart Fragments | Collect fragments from nest-like structures | Maximum health |
| Four Wise Heart Fragments | Collect fragments from nest-like structures | Maximum magic |
If surviving a boss is your main problem, search for Brave Heart Fragments alongside gaining experience. Leveling helps defense, but extending the health meter uses its own collectible system.
4. Mark fragments you cannot reach yet
Heart fragments sit inside distinctive nest-like structures, and some require additional abilities or a different route to reach.
Mark their locations as soon as you spot them. Keep unreachable health and magic upgrades distinguishable from unopened chests or locked doors so your map remains useful later.
After unlocking a movement ability, revisit those marked locations. Give health fragments attention when you need more room for mistakes, or pursue magic fragments when you want a larger magic meter for Arcana use.
Combat: Experiment With Weapons and Control Incoming Attacks
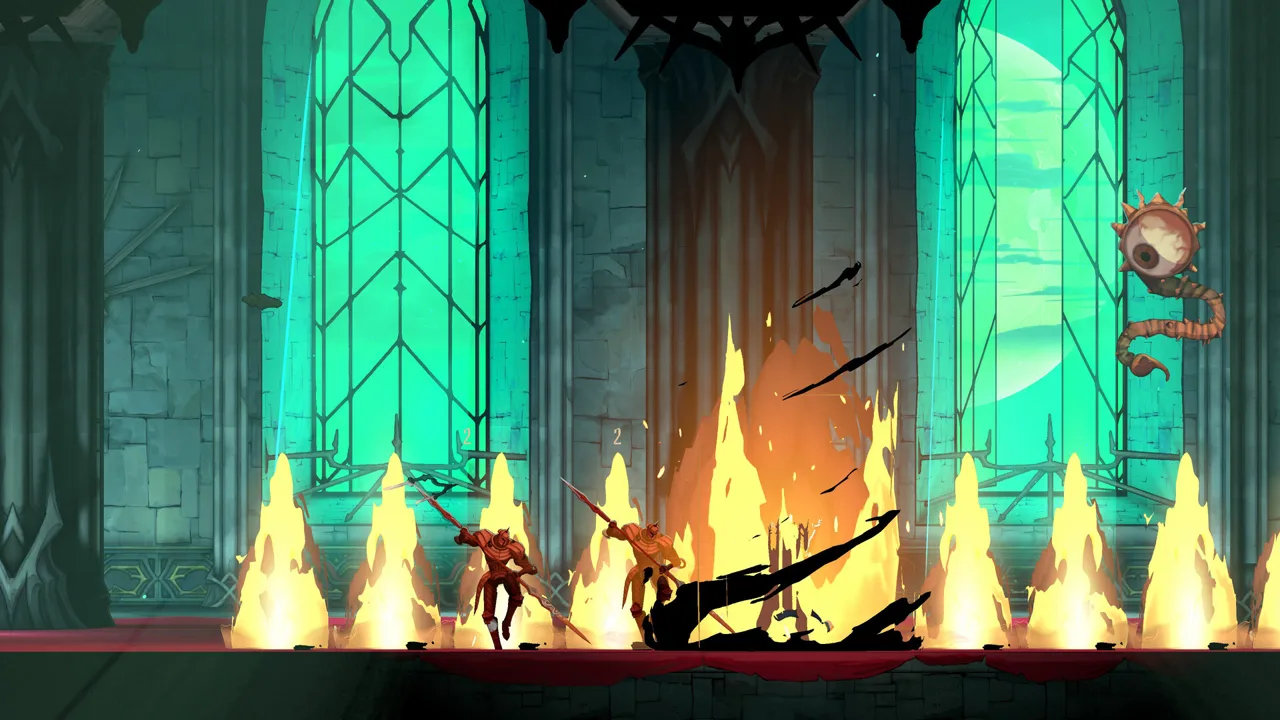 Image: Steam / KONAMI
5. Compare weapon tiers before worrying about weapon categories
Weapons within the same tier share attack values, giving you room to experiment with different movesets. Ordinary weapons have 25 attack, while refined weapons have 50. Rose’s level also contributes to her overall attack.
The practical distinction is between changing how you fight and upgrading the tier of your equipment.
| Weapon option | Combat behavior |
|---|---|
| Lance | Can be thrown at distant targets |
| Sword and shield | Can block blows before a forward slash |
| Greatsword | Uses a wide swing that helps intercept projectiles |
| Another weapon in the same tier | Shares that tier’s attack value while offering a different combat style |
Try a different category when your current attacks feel awkward against an enemy. Compare weapons within the same tier first, then account for the attack increase when you find a higher-tier replacement.
These Castlevania: Belmont's Curse tips are especially useful when experimenting: equal-tier weapons let you explore different combat styles without automatically sacrificing their listed attack value.
6. Attack projectiles and use Holy Light to parry
An incoming projectile does not always require a dodge. You can knock arrows and fireballs out of the air with a correctly timed weapon attack.
Practice meeting the projectile as it enters your weapon’s reach. Swinging too early leaves the attack animation finishing before the threat arrives. A greatsword’s broad swing can make interception easier.
Once you unlock Holy Light, you can also parry with any weapon type or tier. Parries work against melee attacks and projectiles, and a successful melee parry immediately reflects damage back at the attacker.
Use that flexibility to keep a weapon you enjoy while developing your defensive timing.
7. Fight The Fallen patiently and counter its cross
The Fallen is the first major boss challenge, and its thrown cross teaches an important lesson: your weapon can remove a dangerous projectile.
Start at mid-range to watch its movements, but respect the reach of its whip. Distance alone will not protect Rose.
| Attack or movement | How to respond |
|---|---|
| Thrown cross | Strike it when it enters weapon range |
| Close-range claws | Land a few hits, then dodge or backdash away |
| Leap or charge | Avoid the incoming attack, then punish the recovery |
| Long-range whip | Watch the wind-up and dodge before counterattacking |
| Movement between anchors | Keep moving and get underneath horizontal sweeps |
Take two or three safe attacks during an opening, then disengage when the next move begins. Avoid extending a combo just because the previous dodge succeeded.
Defeating The Fallen grants Holy Cross, Arcane Whip, and The Fallen’s Key, one of the three keys needed for the sealed Catacombs door.
Exploration: Use Your Map, Whip, and Hidden Fast Travel
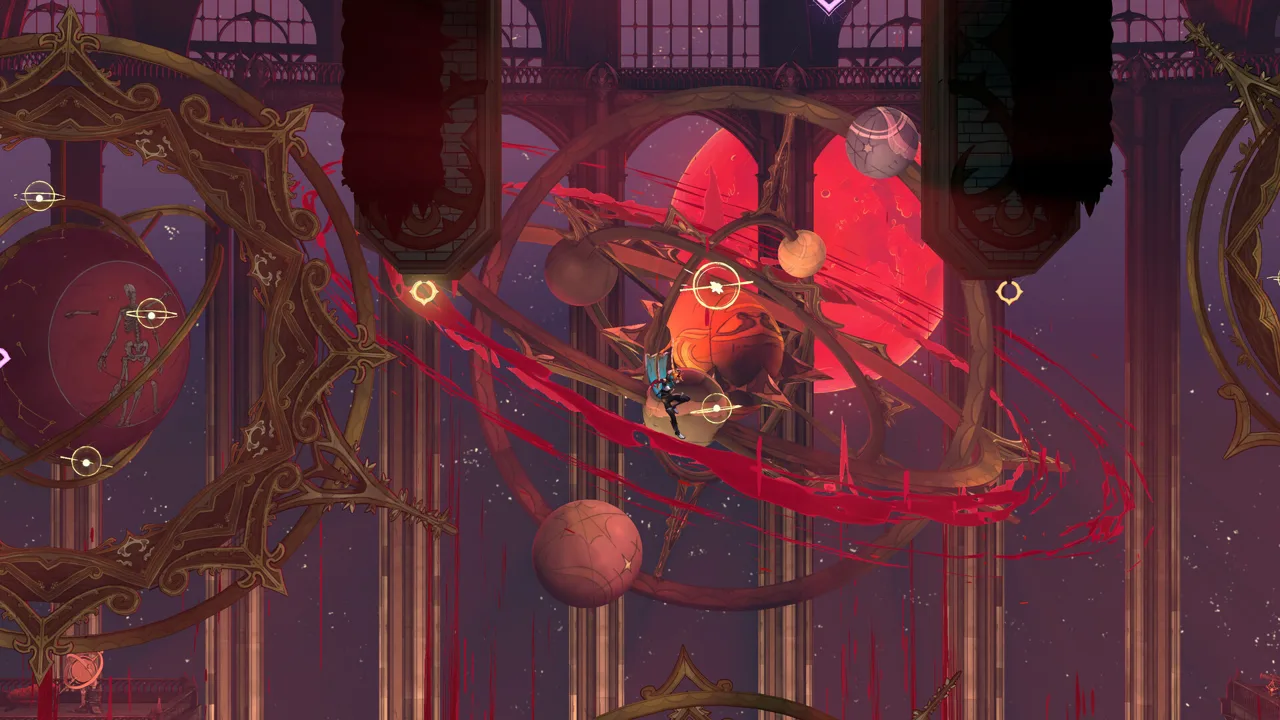 Image: Steam / KONAMI
8. Give map markers a consistent meaning
Among the Castlevania: Belmont's Curse tips that save backtracking time, consistent map markers deserve an early place in your routine.
Mark a blocked route when you encounter it, while you still remember the obstacle. Use one symbol for high platforms and another for unopened treasure, then keep that meaning consistent.
With PlayStation button prompts, open the map using the touchpad and press Square to access markers.
Mark these discoveries:
- Ledges beyond your current jump.
- Doors requiring a key.
- Uncollected treasure chests.
- Heart fragments you can see but cannot reach.
After gaining a key or movement ability, review the relevant markers instead of retracing every corridor.
9. Learn the differences between Arcane Whip anchors
Arcane Whip expands both traversal and combat. Yellow anchors let Rose swing, while purple anchors pull her directly toward them.
For a yellow-anchor route that changes direction, swing back the other way before committing to the next movement. Some special anchors also function as levers; keep swinging back and forth to activate them fully.
You can grapple toward an enemy and attack during the approach to perform a whip strike. Remember that interaction when a Work of Mercy asks for whip attacks.
Treat each newly accessible route as a reason to check nearby map markers. The whip opens opportunities beyond the immediate path forward.
10. Crouch at mirrors to access local fast travel
Mirrors of Life hide a travel function that is easy to overlook. Stand in front of one and hold crouch for about five seconds to enter the Hall of Mirrors.
From there, select another discovered mirror within that area.
| Travel system | Access point | Travel scope |
|---|---|---|
| Hall of Mirrors | Crouch in front of a Mirror of Life | Discovered mirrors within the same area |
| Ferryman | Harbors | Travel between zones |
Use mirror travel when returning to a marked collectible within your current area. Use the harbor network when moving between zones after meeting the ferryman.
Keep that distinction in mind when planning a return trip: the two systems handle different parts of the journey.
Resources and Mistakes to Avoid: Potions, Arcana, and Enemy Respawns
11. Understand which potions return when you rest
Rose begins with three health potions under the standard rules. Resting at a Mirror of Life replenishes that base supply.
Enemies and breakable lanterns can also drop temporary extra potions. Those extras do not replenish at a mirror; they disappear when you rest.
Use temporary supplies when you need healing during exploration instead of carrying them into a rest expecting to preserve them. Defeating and absorbing a boss also fully restores health and magic.
These Castlevania: Belmont's Curse tips make resource decisions clearer: distinguish renewable base potions from temporary extras before deciding whether to continue exploring or return to a mirror.
12. Work toward Arcana upgrades while exploring
Each Arcana has associated Works of Mercy listed beside it in the Arcana menu. These challenges involve exploration or particular combat actions.
Completing one awards a Purification Gem tied to that spell. A gem earned through a Holy Cross challenge upgrades Holy Cross; it cannot be redirected to another Arcana.
Read the challenge when you acquire a spell, then look for opportunities to complete it during normal exploration. Once you earn its gem, choose which available perk to unlock first.
Check the tarot deck, too. Its cards contain clues pointing toward bosses or challenges, and wandering spirits provide additional clues. You do not need every clue before finding the destination, so keep exploring promising routes.
13. Move past endless enemies and adjust difficulty when needed
Most defeated enemies stay gone until you rest at a Mirror of Life. However, enemies such as ghost skulls and Medusa heads can spawn endlessly.
Treat these as moving platforming hazards. Defeat one when it blocks your route, then advance. Enemies that do not drop yellow experience orbs will not help you grind levels.
If repeated attempts become frustrating, open the gameplay settings and enable Custom Mode. Its options include extra potion capacity, reduced enemy damage, increased player damage, and avoiding death.
Adjust the setting connected to your difficulty, then return to practicing the encounter. Visibility settings can also help when the problem is reading the action.
FAQ
Which Castlevania: Belmont's Curse tips should beginners use first?
Start by adjusting controls and visibility, marking blocked routes, and learning mirror fast travel. Then check how your stats increase: levels improve attack and defense, while four matching heart fragments increase health or magic.
How do you fast travel between Mirrors of Life?
Crouch in front of a Mirror of Life for about five seconds to enter the Hall of Mirrors. You can then travel to other mirrors you have discovered within that same area.
Do all weapons deal the same damage?
Weapons within the same tier share attack values. Ordinary weapons have 25 attack, and refined weapons have 50. Different categories still offer different moves and defensive options, while Rose’s level contributes to overall attack.
Can you parry before unlocking Holy Light?
Parrying becomes available through Holy Light. You can also use ordinary weapon attacks to intercept projectiles, including The Fallen’s thrown cross, by striking when they enter your weapon’s reach.
Continue with
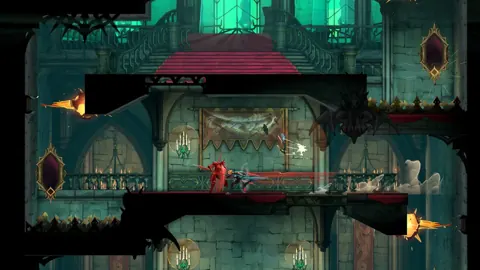 Castlevania: Belmont's Curse Walkthrough: First BossFollow this Castlevania: Belmont's Curse walkthrough through Paris Streets, beat The Fallen, unlock the Arcane Whip, and plan your next exploration steps.
More in Guide
Castlevania: Belmont's Curse Achievements: Full Guide
Track Castlevania: Belmont's Curse achievements with the full trophy list, collectible goals, ending requirements, and a clear route to 100% completion.
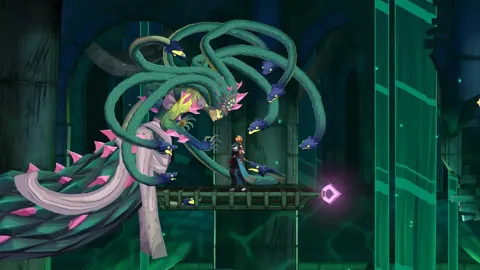
Castlevania: Belmont's Curse Difficulty: How to Adjust
Castlevania: Belmont's Curse difficulty explained: adjust Custom Mode, handle early combat, tackle Builder's chase, and learn when to dodge boss attacks.

Castlevania: Belmont's Curse Reddit: Controls Guide
Castlevania: Belmont's Curse reddit guide covering dodge timing, controller issues, Arcana cards, exploration, and what to check before buying. Get ready.

Castlevania: Belmont's Curse Review: Worth Your Time?
Castlevania: Belmont's Curse review covering combat, exploration, tarot spells, difficulty, and performance. See if Rose Belmont's adventure suits you.
Join the community
Official channels for news, updates and player help: